
The Culinary Torch
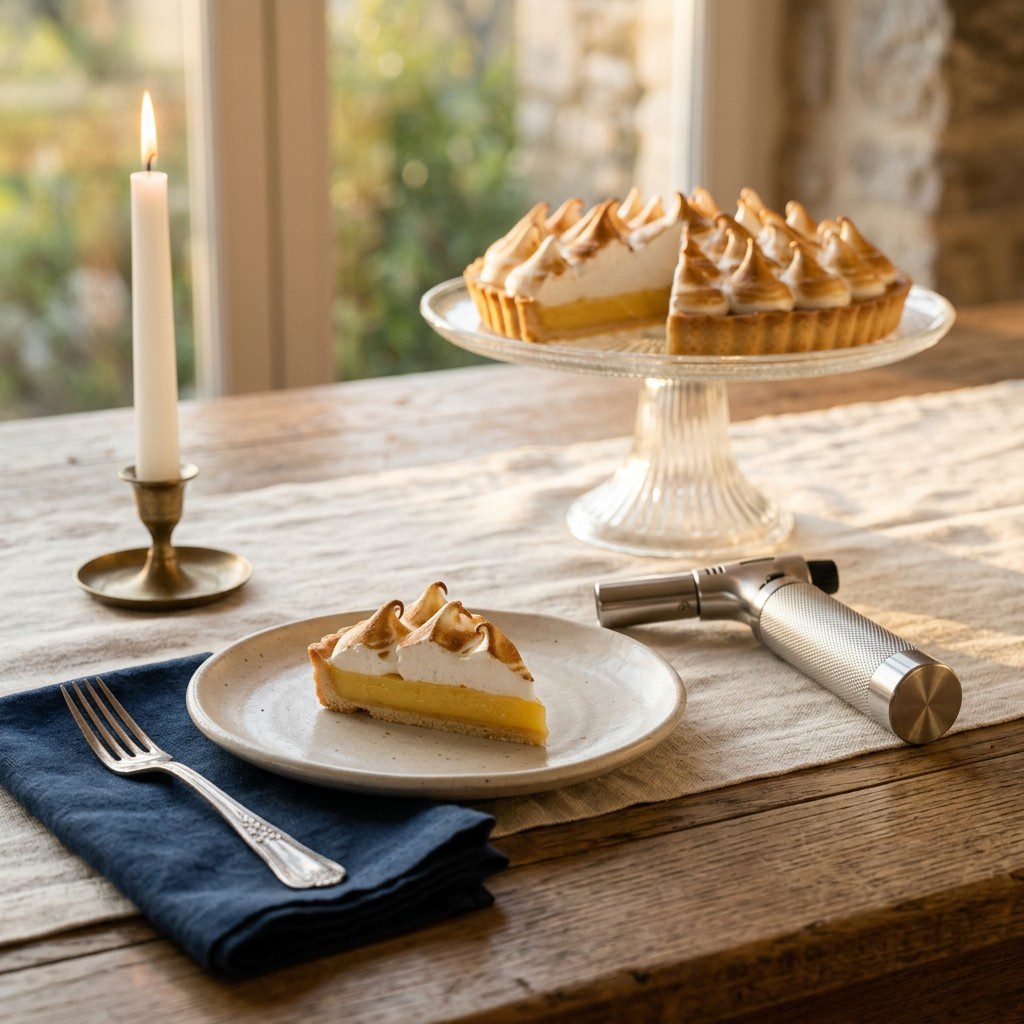
Master the culinary torch — the small, dramatic tool behind glassy crème brûlée, toasted meringues, and blistered fruit — with the technique, safety, and finishing flourishes that put a professional finish on your baking.
A culinary torch is one of the most satisfying tools a home baker can own — small, a little dramatic, and capable of finishing a dessert with a flourish no oven can match. It is the tool behind the glassy, crackling top of a crème brûlée, the golden peaks of a toasted meringue, the blistered edge of a caramelized fruit. This guide covers everything you need to wield one with confidence: choosing a torch, using it safely, and the finishing touches that turn a good dessert into a showstopper.
Choosing and Fueling Your Torch
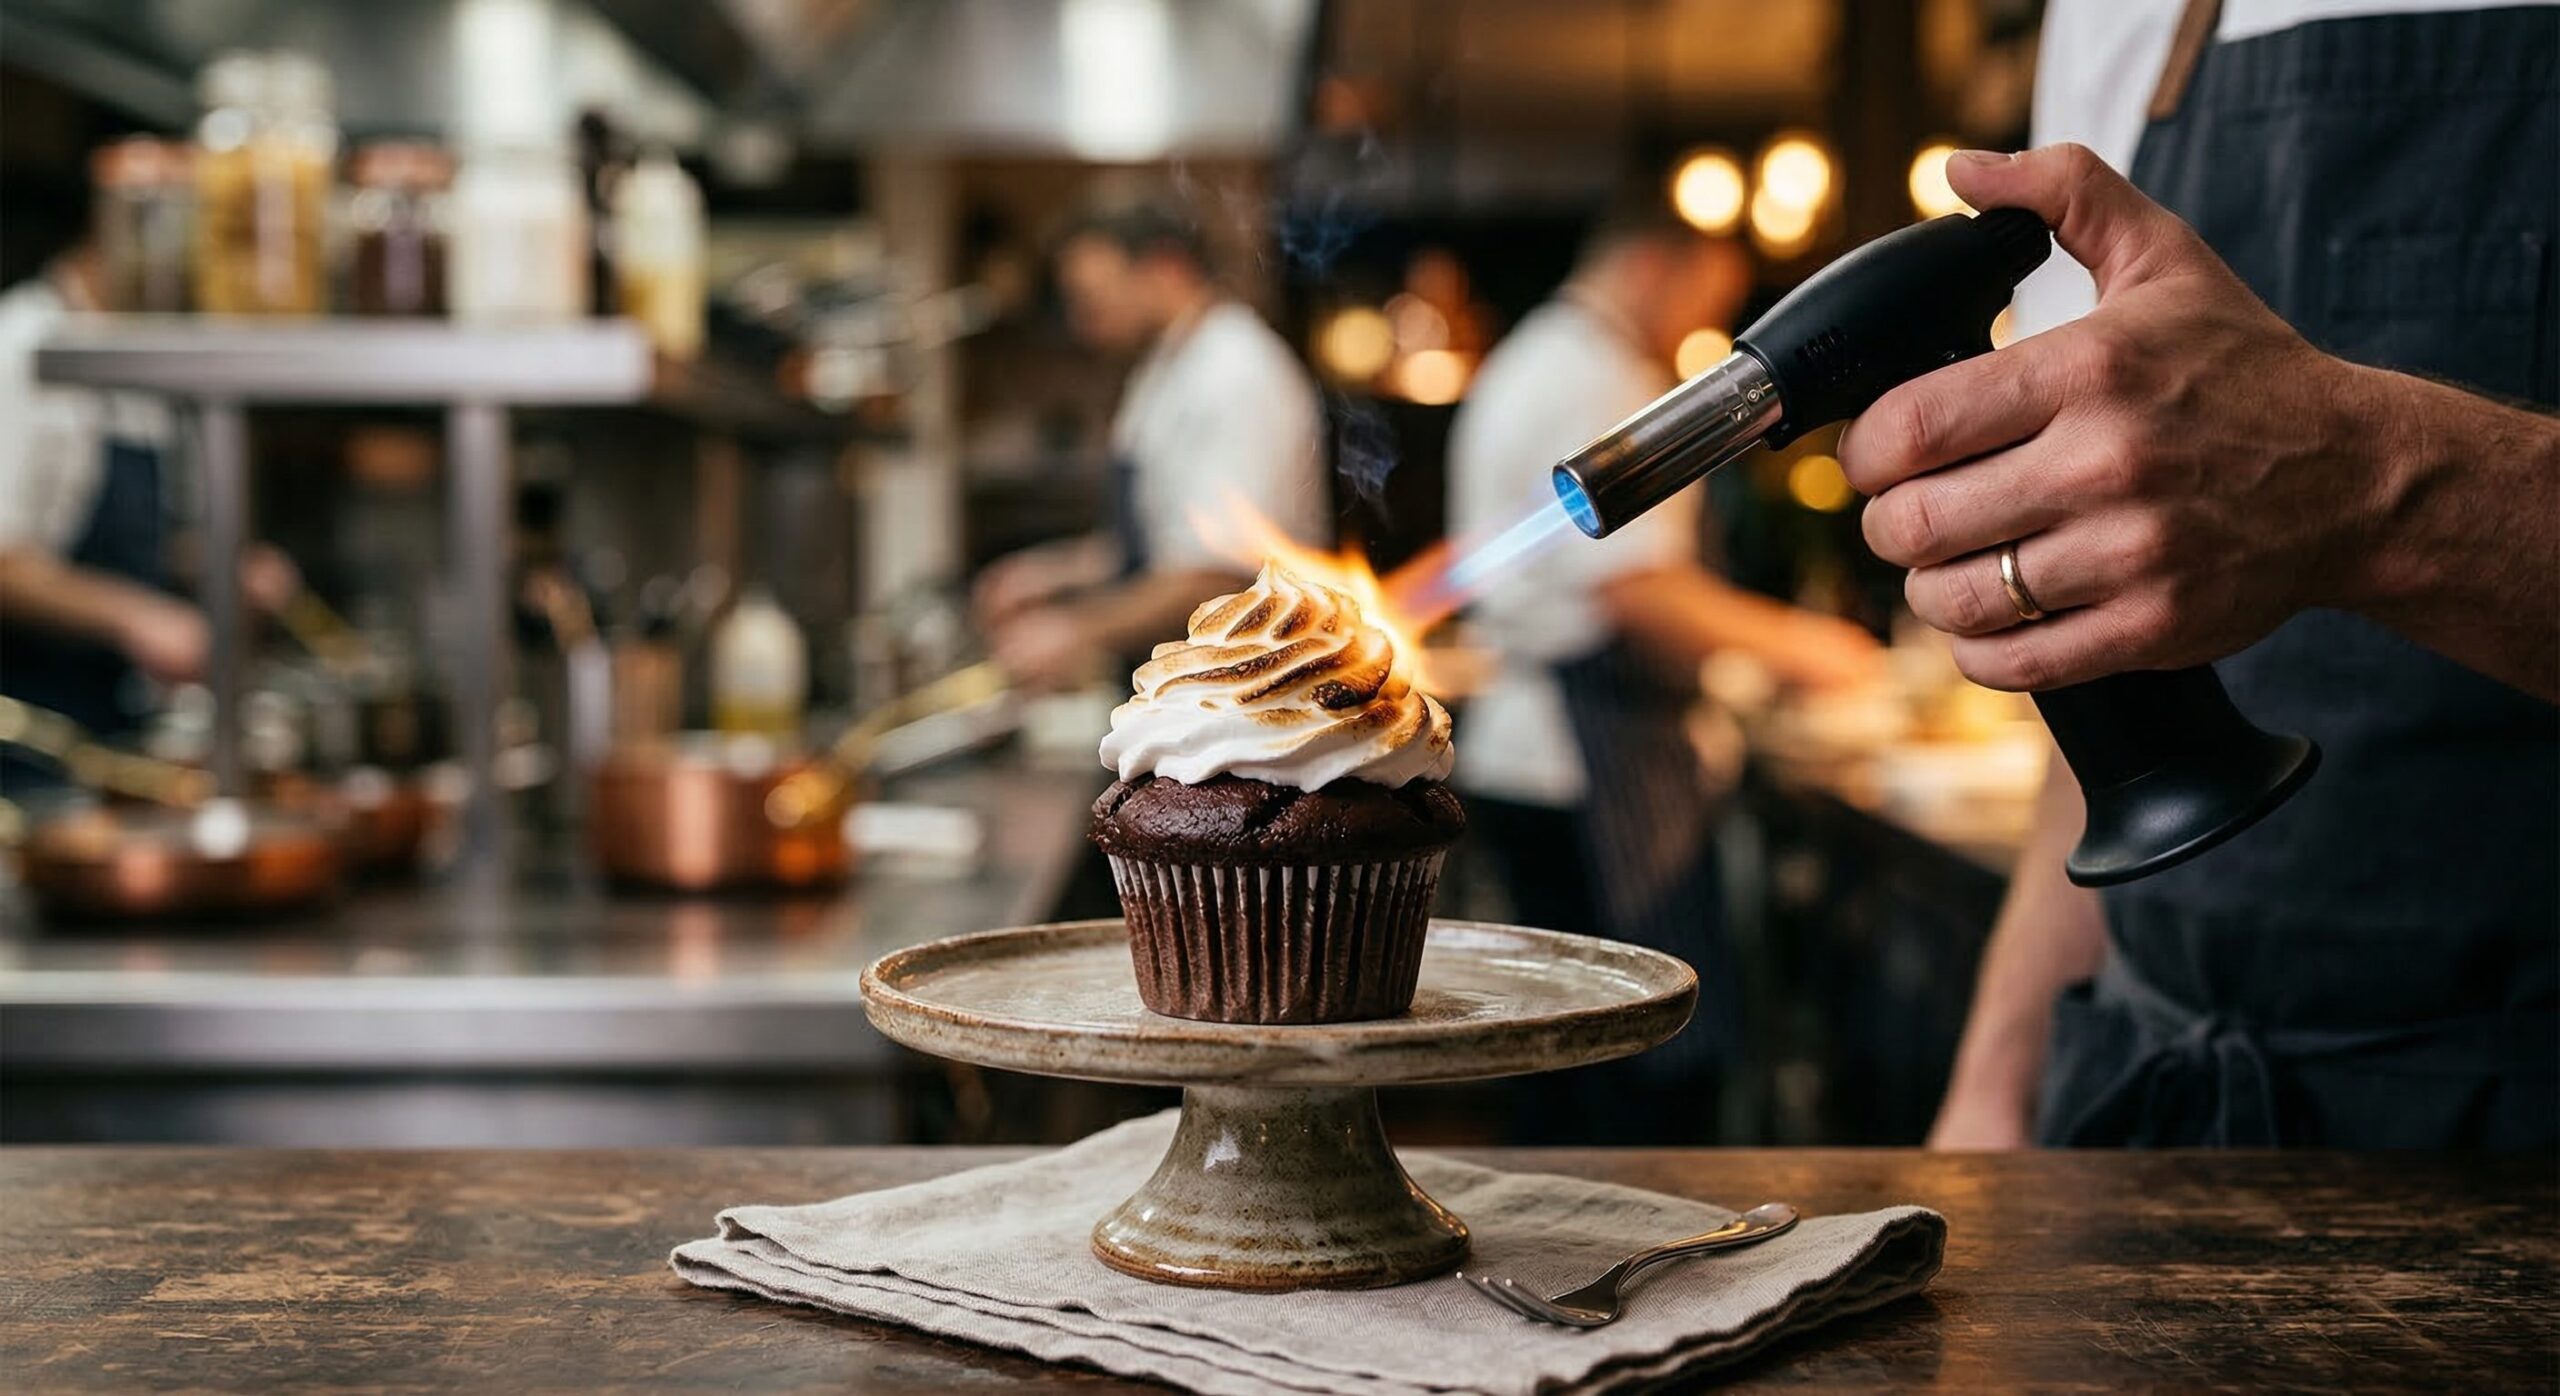
A good culinary torch is refillable, feels steady in the hand, and offers an adjustable flame you can dial from a gentle kiss to a focused jet. Look for one with a safety lock and a broad, stable base, and fuel it with standard butane — a well-chosen torch is a joy to use and will last for years of caramelizing, toasting, and blistering.
Technique and Safety
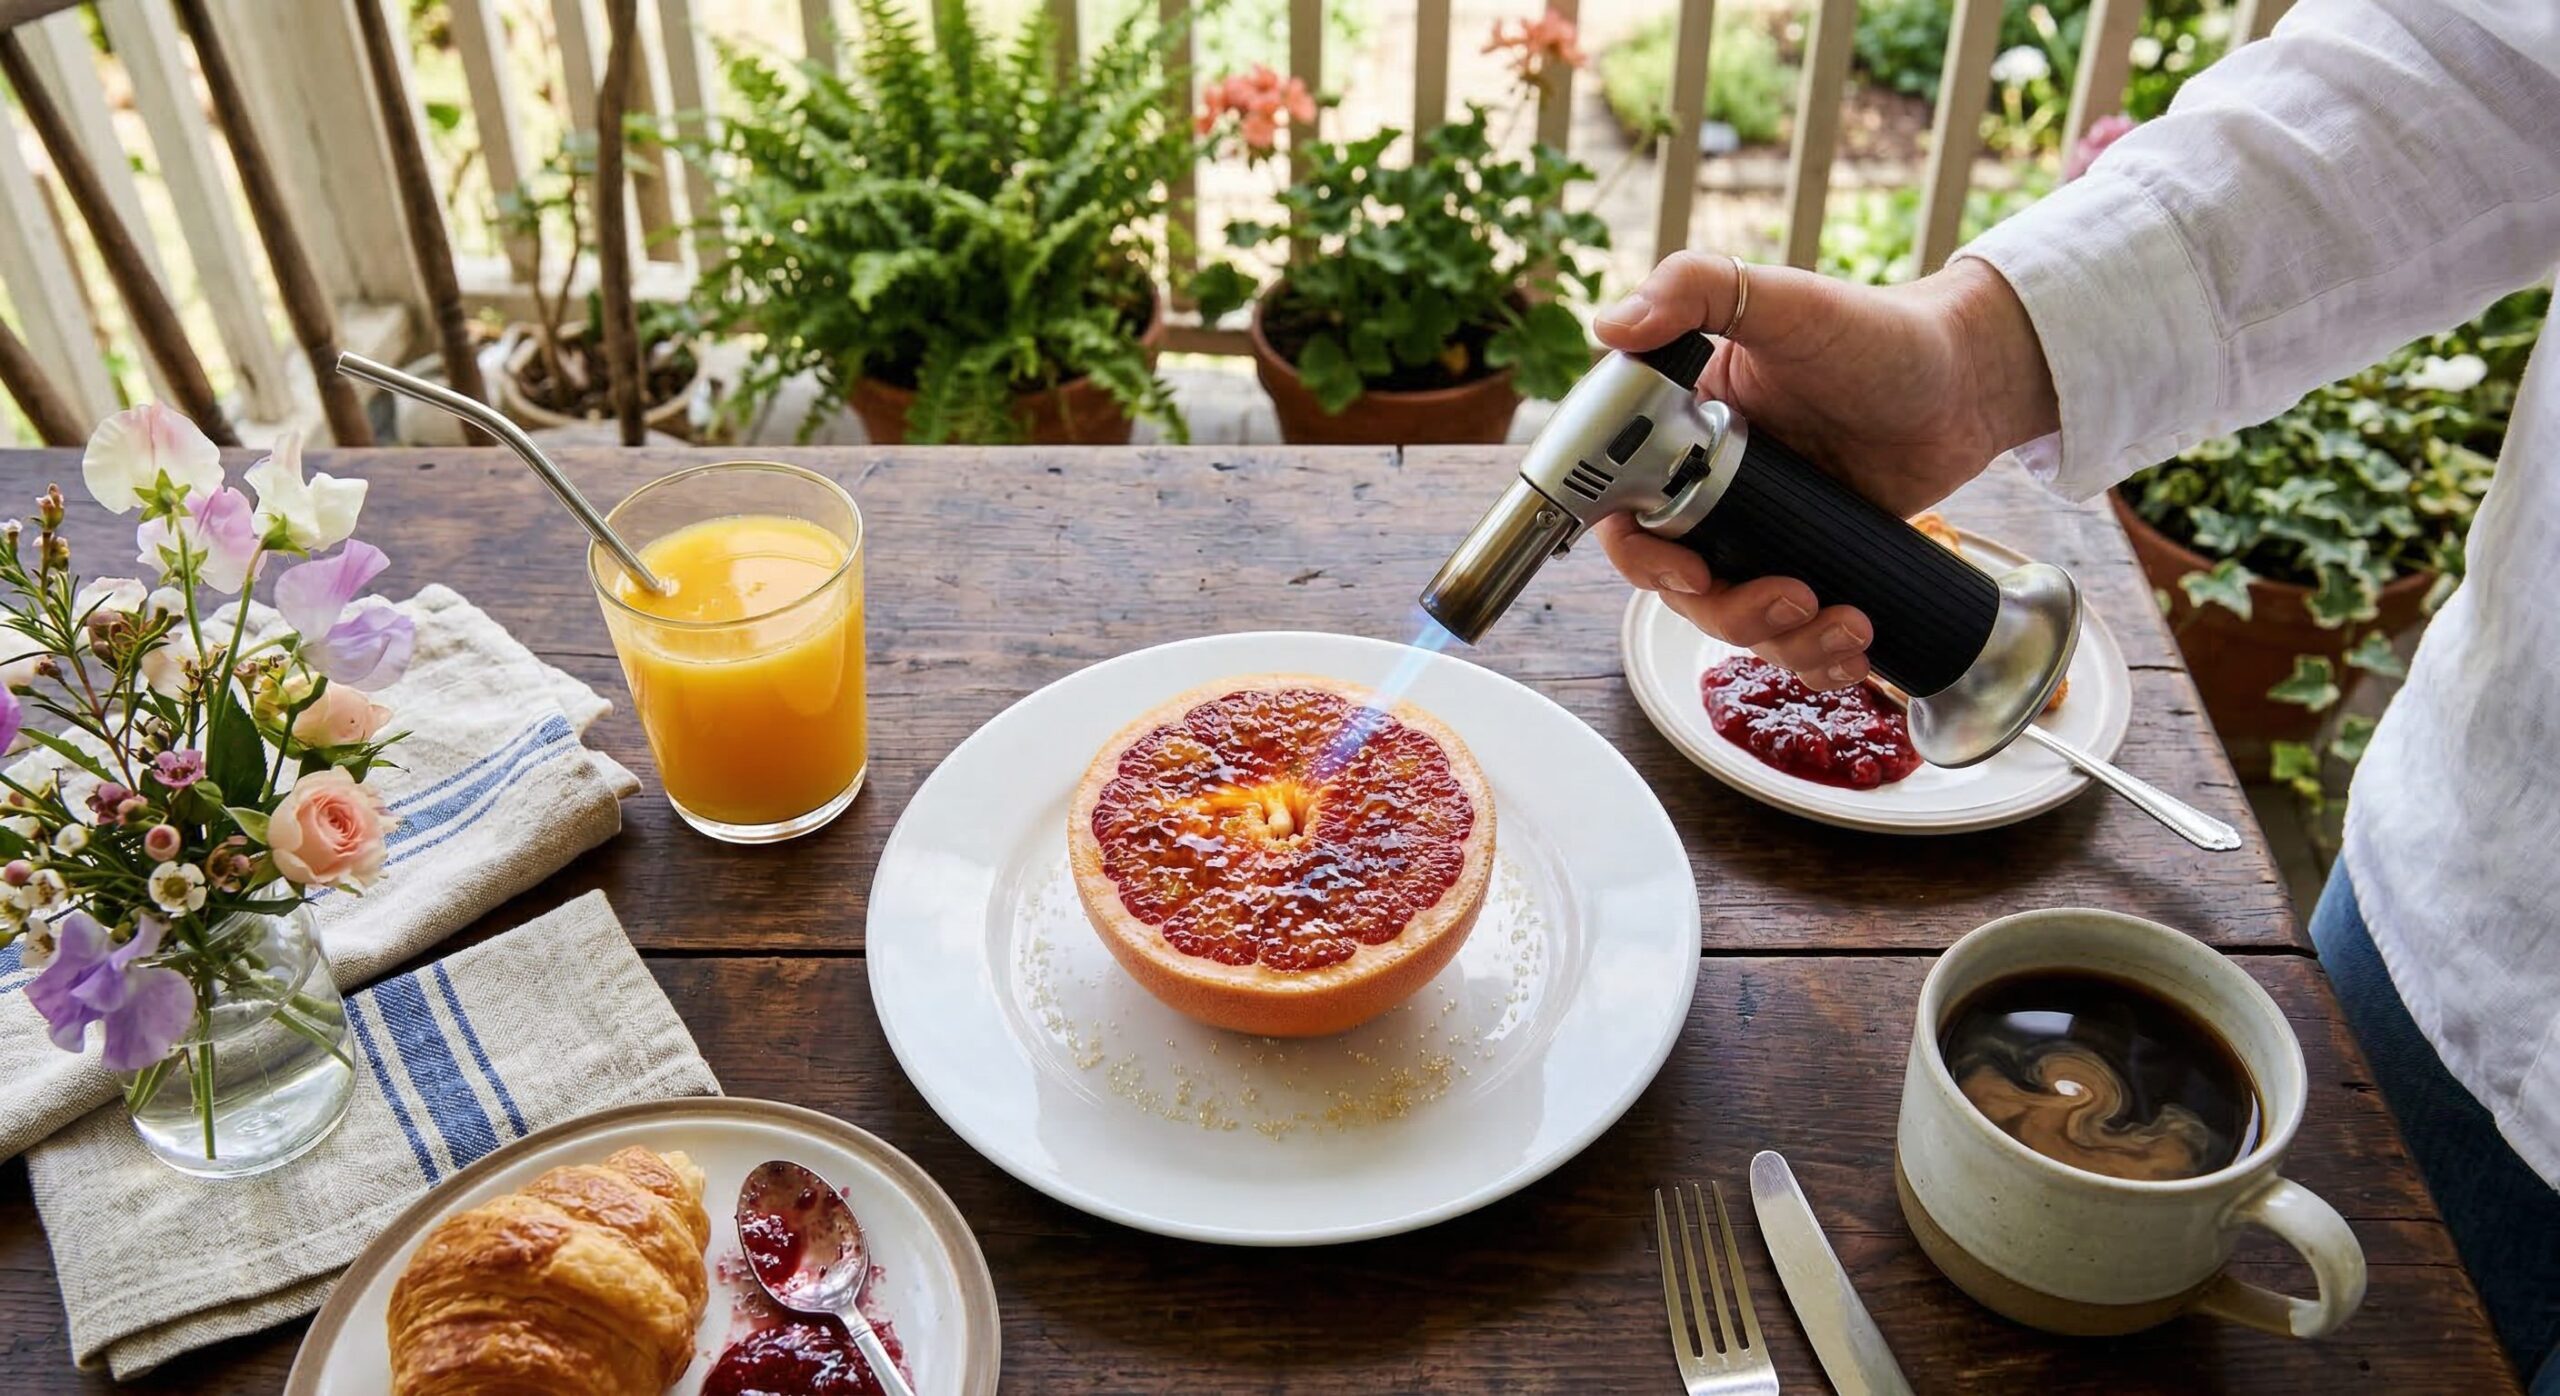
Hold the torch a few inches from the surface and keep it moving in steady, even passes so the heat colors without scorching. Work on a heatproof surface away from anything flammable, tie back loose hair and sleeves, and always engage the safety lock when you set it down — a little care makes the torch a safe, reliable tool rather than a hazard, and steady, patient passes give the most even, professional finish.
The Culinary Torch: A Reference Guide
Everything you need to finish desserts like a professional
Best Uses for the Torch
Crackling the sugar top on crème brûlée • Toasting meringue on pies, cupcakes, and baked Alaska • Caramelizing sugar on fruit tarts and grapefruit • Blistering the skins of peppers or tomatoes • Setting and browning a glaze or a marshmallow finish
Choosing a Torch
A refillable butane torch with an adjustable flame • A safety lock to prevent accidental ignition • A broad, stable base so it stands upright • A comfortable trigger and steady grip
Safety Essentials
Work on a heatproof surface, away from anything flammable • Keep the flame moving; never hold it in one spot • Tie back loose hair, sleeves, and towels • Engage the safety lock whenever you set it down • Let torched sugar cool and harden before serving
Method
1. Fill the torch with butane and let it settle a moment before lighting.
2. Set your dessert on a heatproof surface with plenty of clearance around it.
3. Adjust the flame to a steady, medium jet.
4. Hold the torch two to three inches from the surface and move it in slow, even passes.
5. Watch the color develop, keeping the flame moving so the surface caramelizes evenly without burning.
6. Stop as soon as you reach an even golden or amber finish.
7. Engage the safety lock, set the torch down, and let the finish cool and set before serving.
The Heart of the Table
A torched flourish is a small piece of theater at the table — the crackle of a brûlée top or the golden peaks of a toasted meringue delight a guest before the first bite. There is a generous showmanship in finishing a dessert this way, a little drama that says you took the extra step to make something ordinary feel special.
The Art of the Host
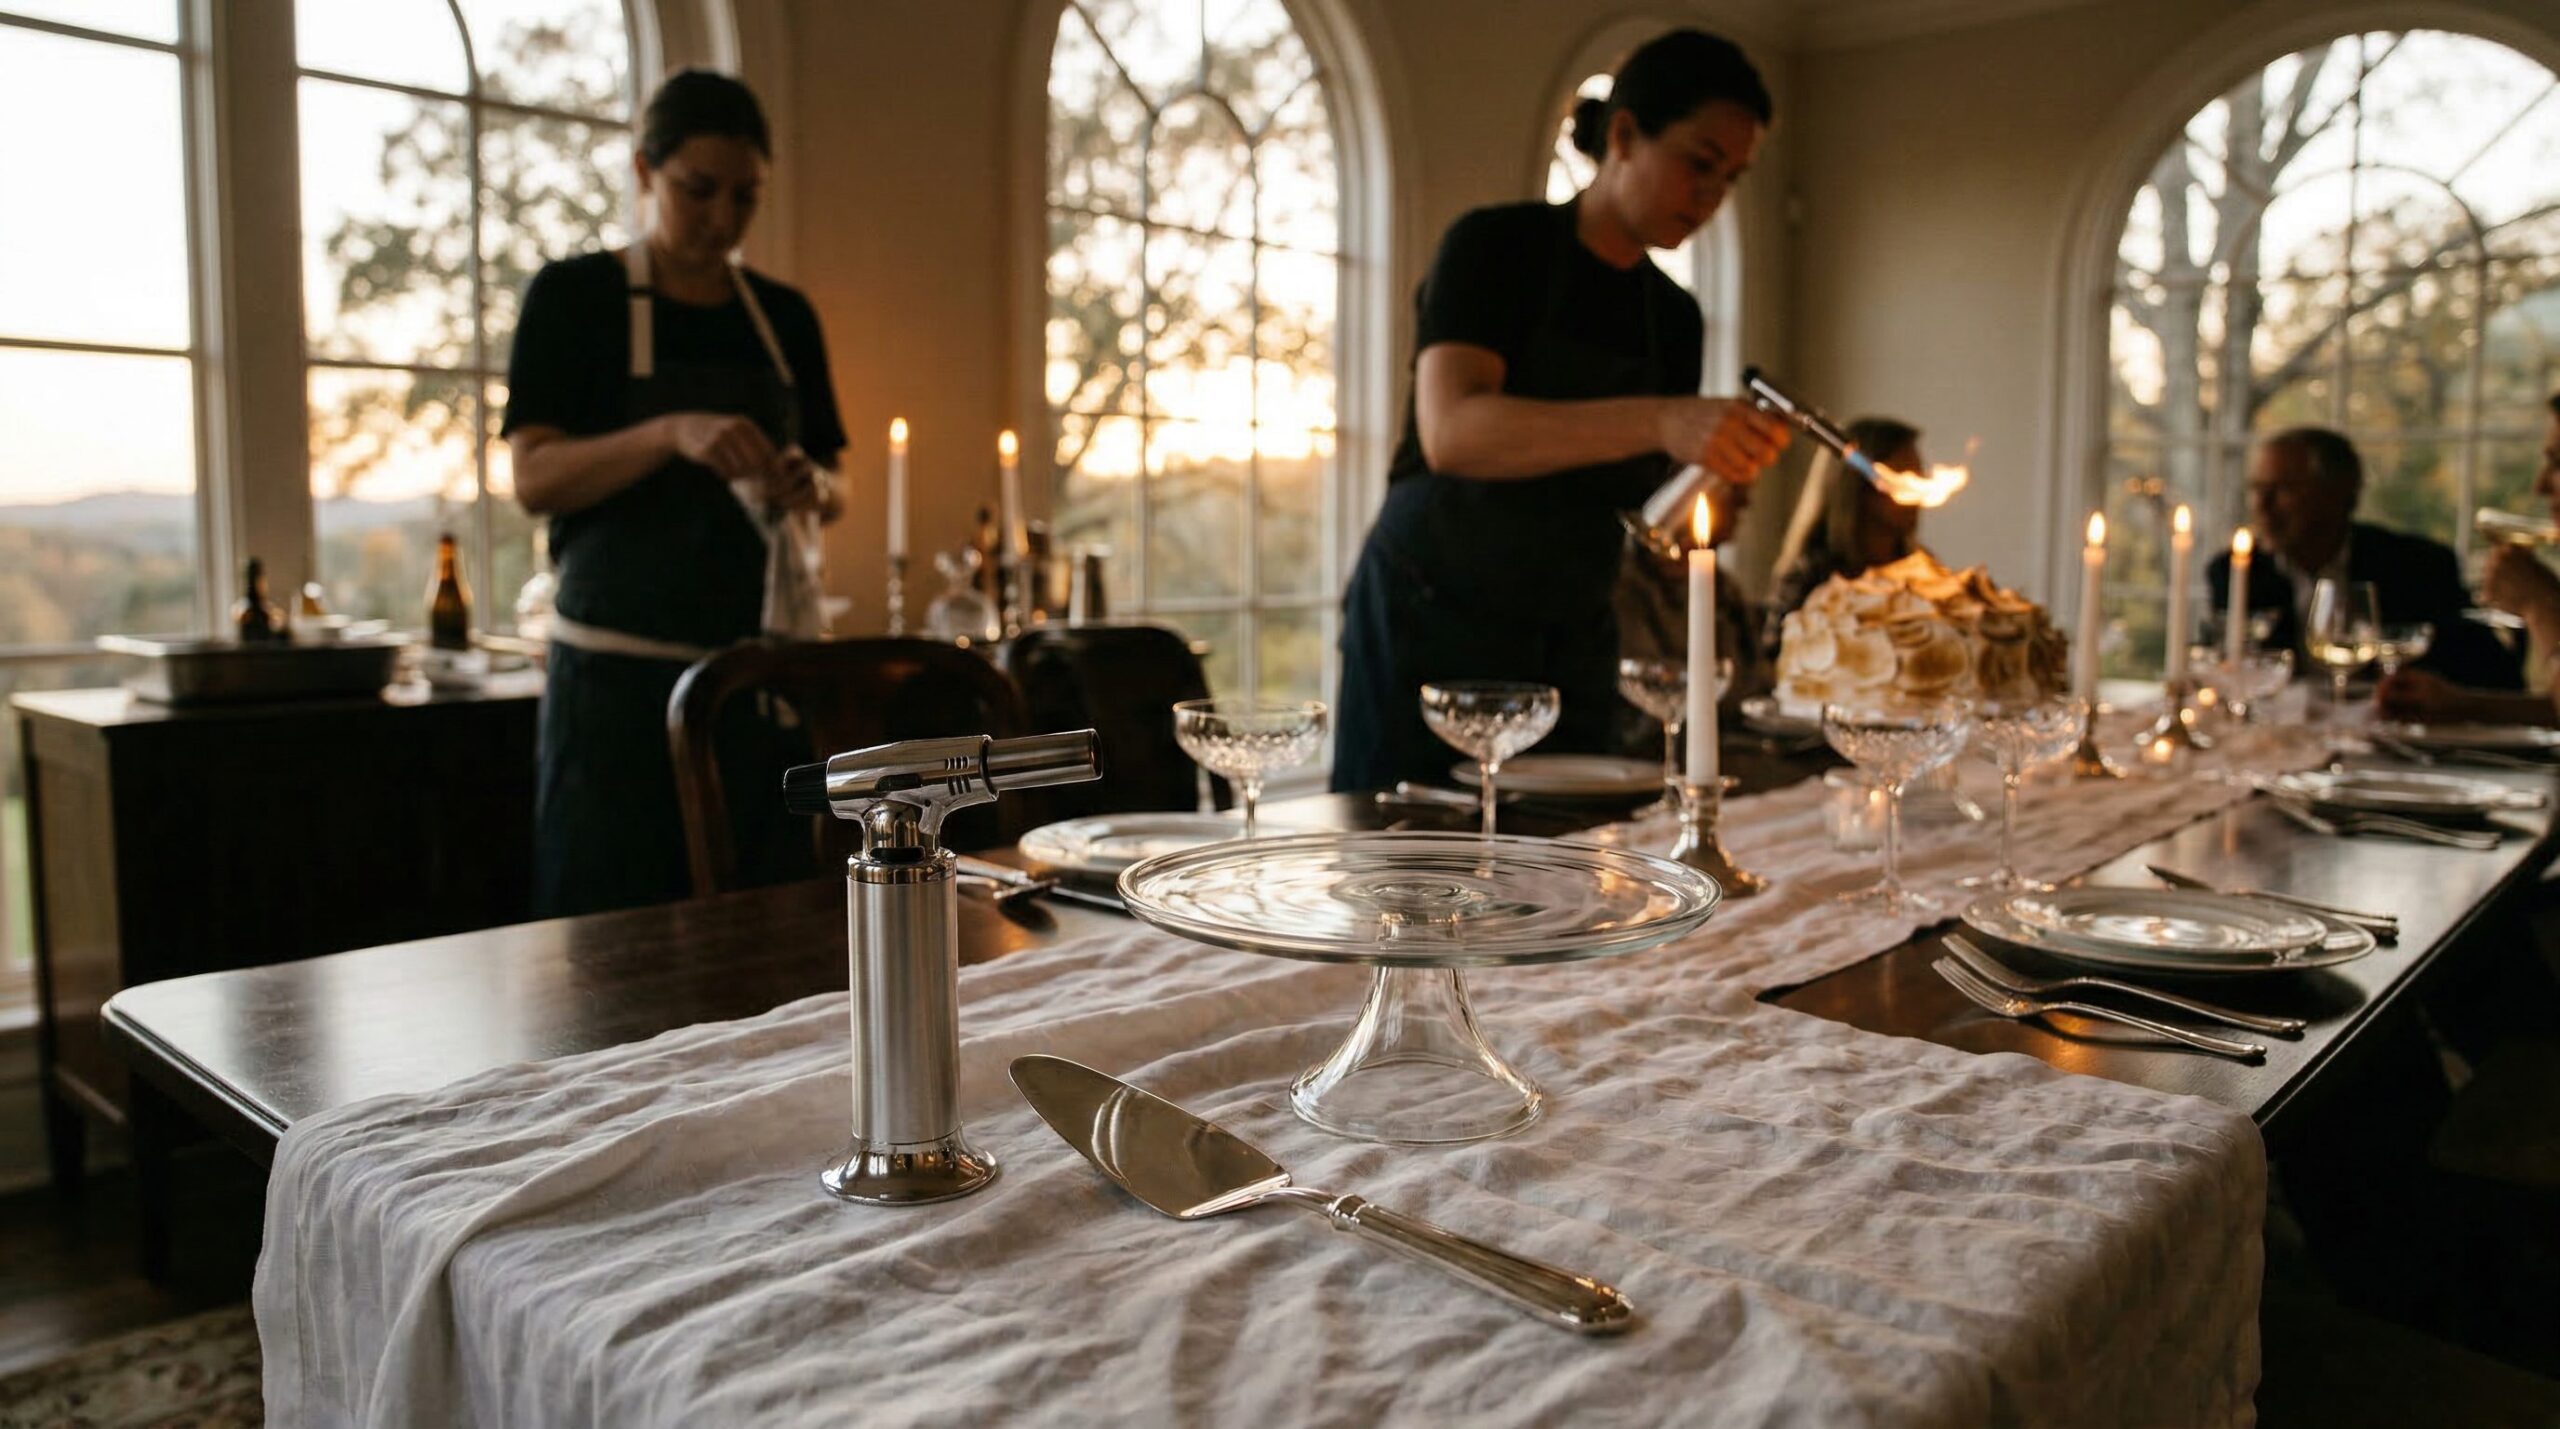
Keep your torch fueled and its safety lock engaged between uses, and always work on a heatproof surface with room to spare. Practice your passes on a spare ramekin of sugar until you find the rhythm, and torch desserts just before serving so the finish is at its crisp, dramatic best.
Neighborly Grace
- The Preparation: You can ready the desserts themselves ahead — the custards, the meringue-topped pies — and simply torch the finish just before serving. This keeps the torched flourish crisp and fresh for that final, dramatic touch at the table.
- The Pour: Whatever the dessert calls for — a dessert wine with a crème brûlée, a coffee with a toasted meringue; for a non-alcoholic pairing, an espresso or a pot of tea flatters most any torched sweet.
- The Vibe: Bring the torch to the table for a moment of theater, finishing each dessert to admiring eyes. This is the flourish that puts a professional finish on your baking — a small, dramatic tool that turns an ordinary dessert into a showstopper.