
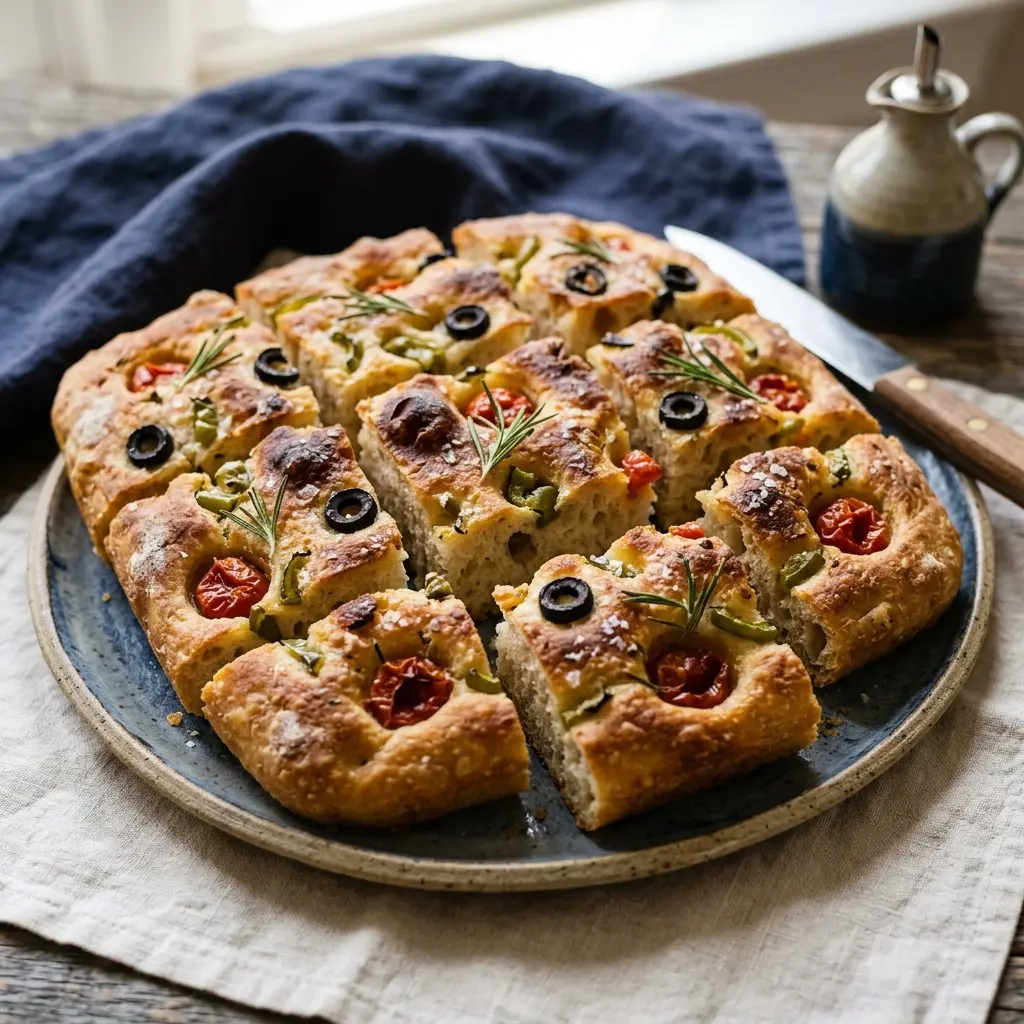
Garden Focaccia
Stir the yeast and sugar into 1 ¾ cups warm water and set in a warm place until bubbling, about 15 minutes. Mix with the flour, salt and ½ cup of olive oil, and knead with the dough hook 3 to 5 minutes until smooth and elastic. Set the dough in an oiled bowl until doubled, about 1 hour. Stretch into the oiled pan, make indentations, set aside for 1 hour, top with Parmesan, flaky salt, thyme, rosemary and olive oil, and bake at 400° for 15 to 20 minutes.
Focaccia has become a canvas for edible art, and this holiday garden version shows exactly why. A pillowy, olive-oil-rich dough gets its dimpled top decorated with vegetables and herbs arranged into a garden scene — sprigs for stems, peppers and onions for blooms — before it bakes into a stunning, shareable centerpiece. It is as much a conversation piece as a bread, the kind of thing that draws gasps at the table and then gets happily torn apart and devoured.
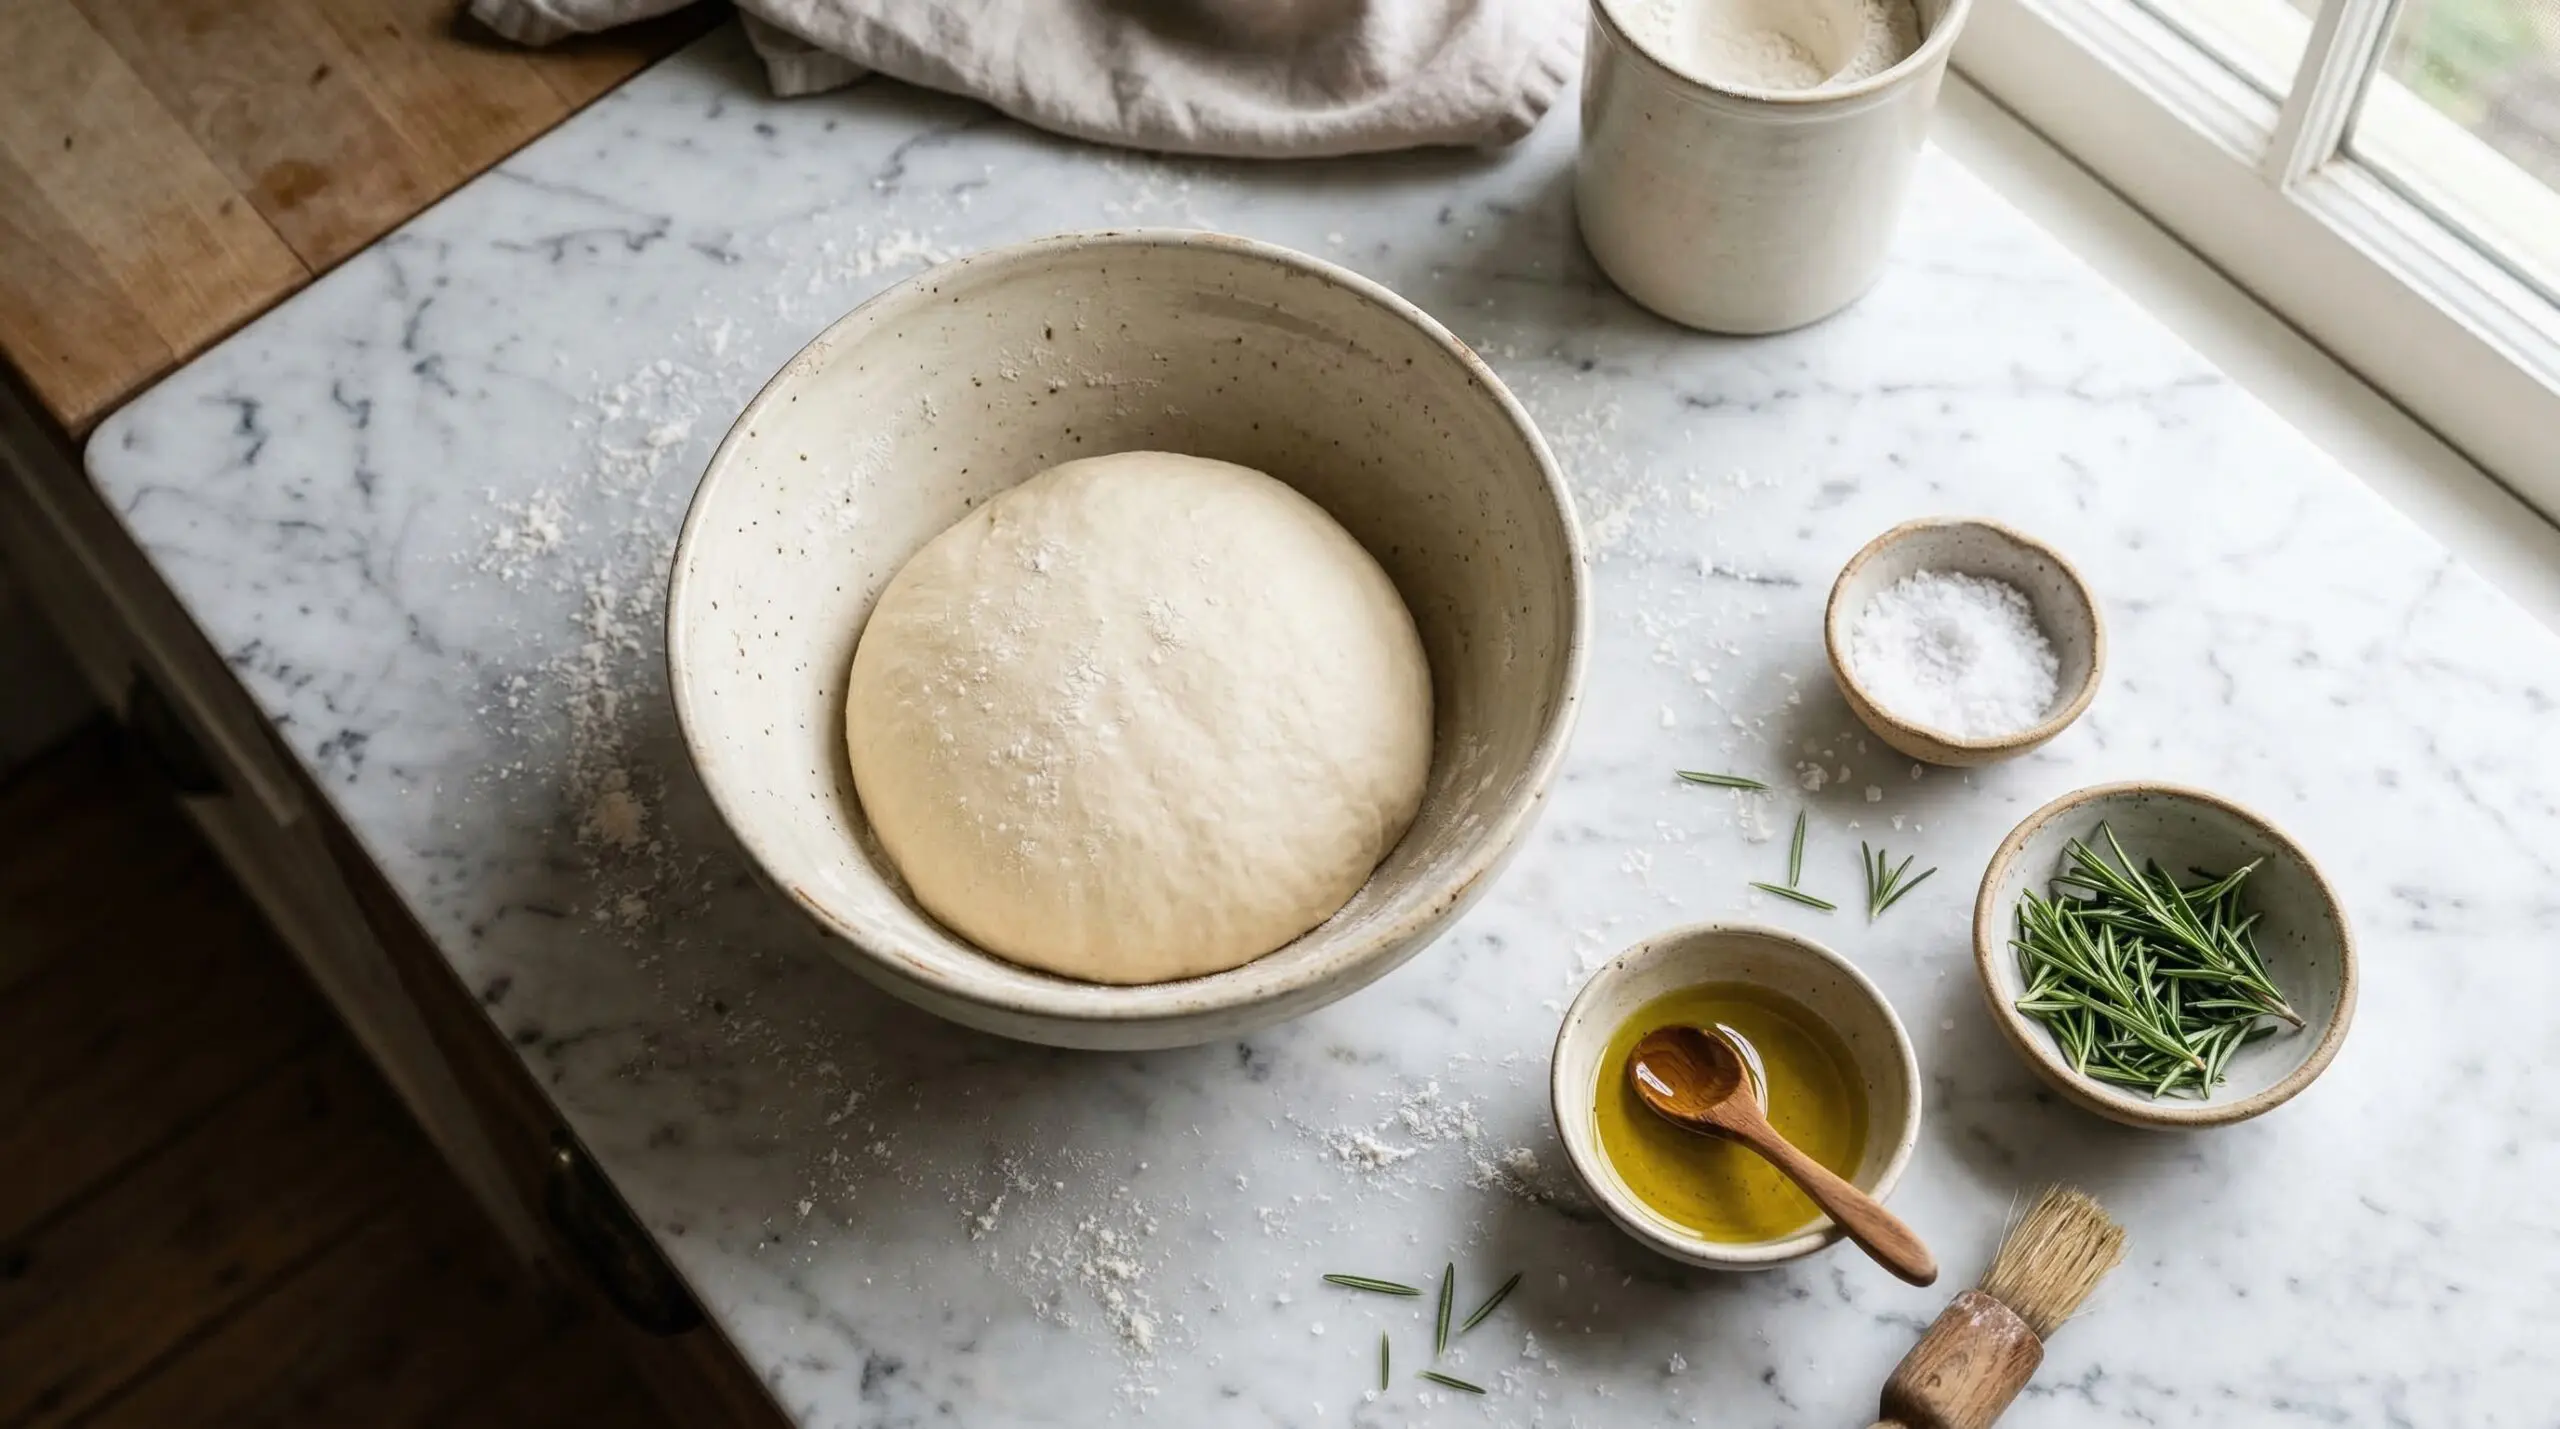
The Pillowy Dough
Mix a wet, olive-oil-rich dough and give it a good, slow rise until it is airy and bubbling. Focaccia dough thrives on patience and plenty of oil — a long proof gives it that signature light, pillowy crumb, and a generous hand with the oil ensures a crisp, golden bottom.
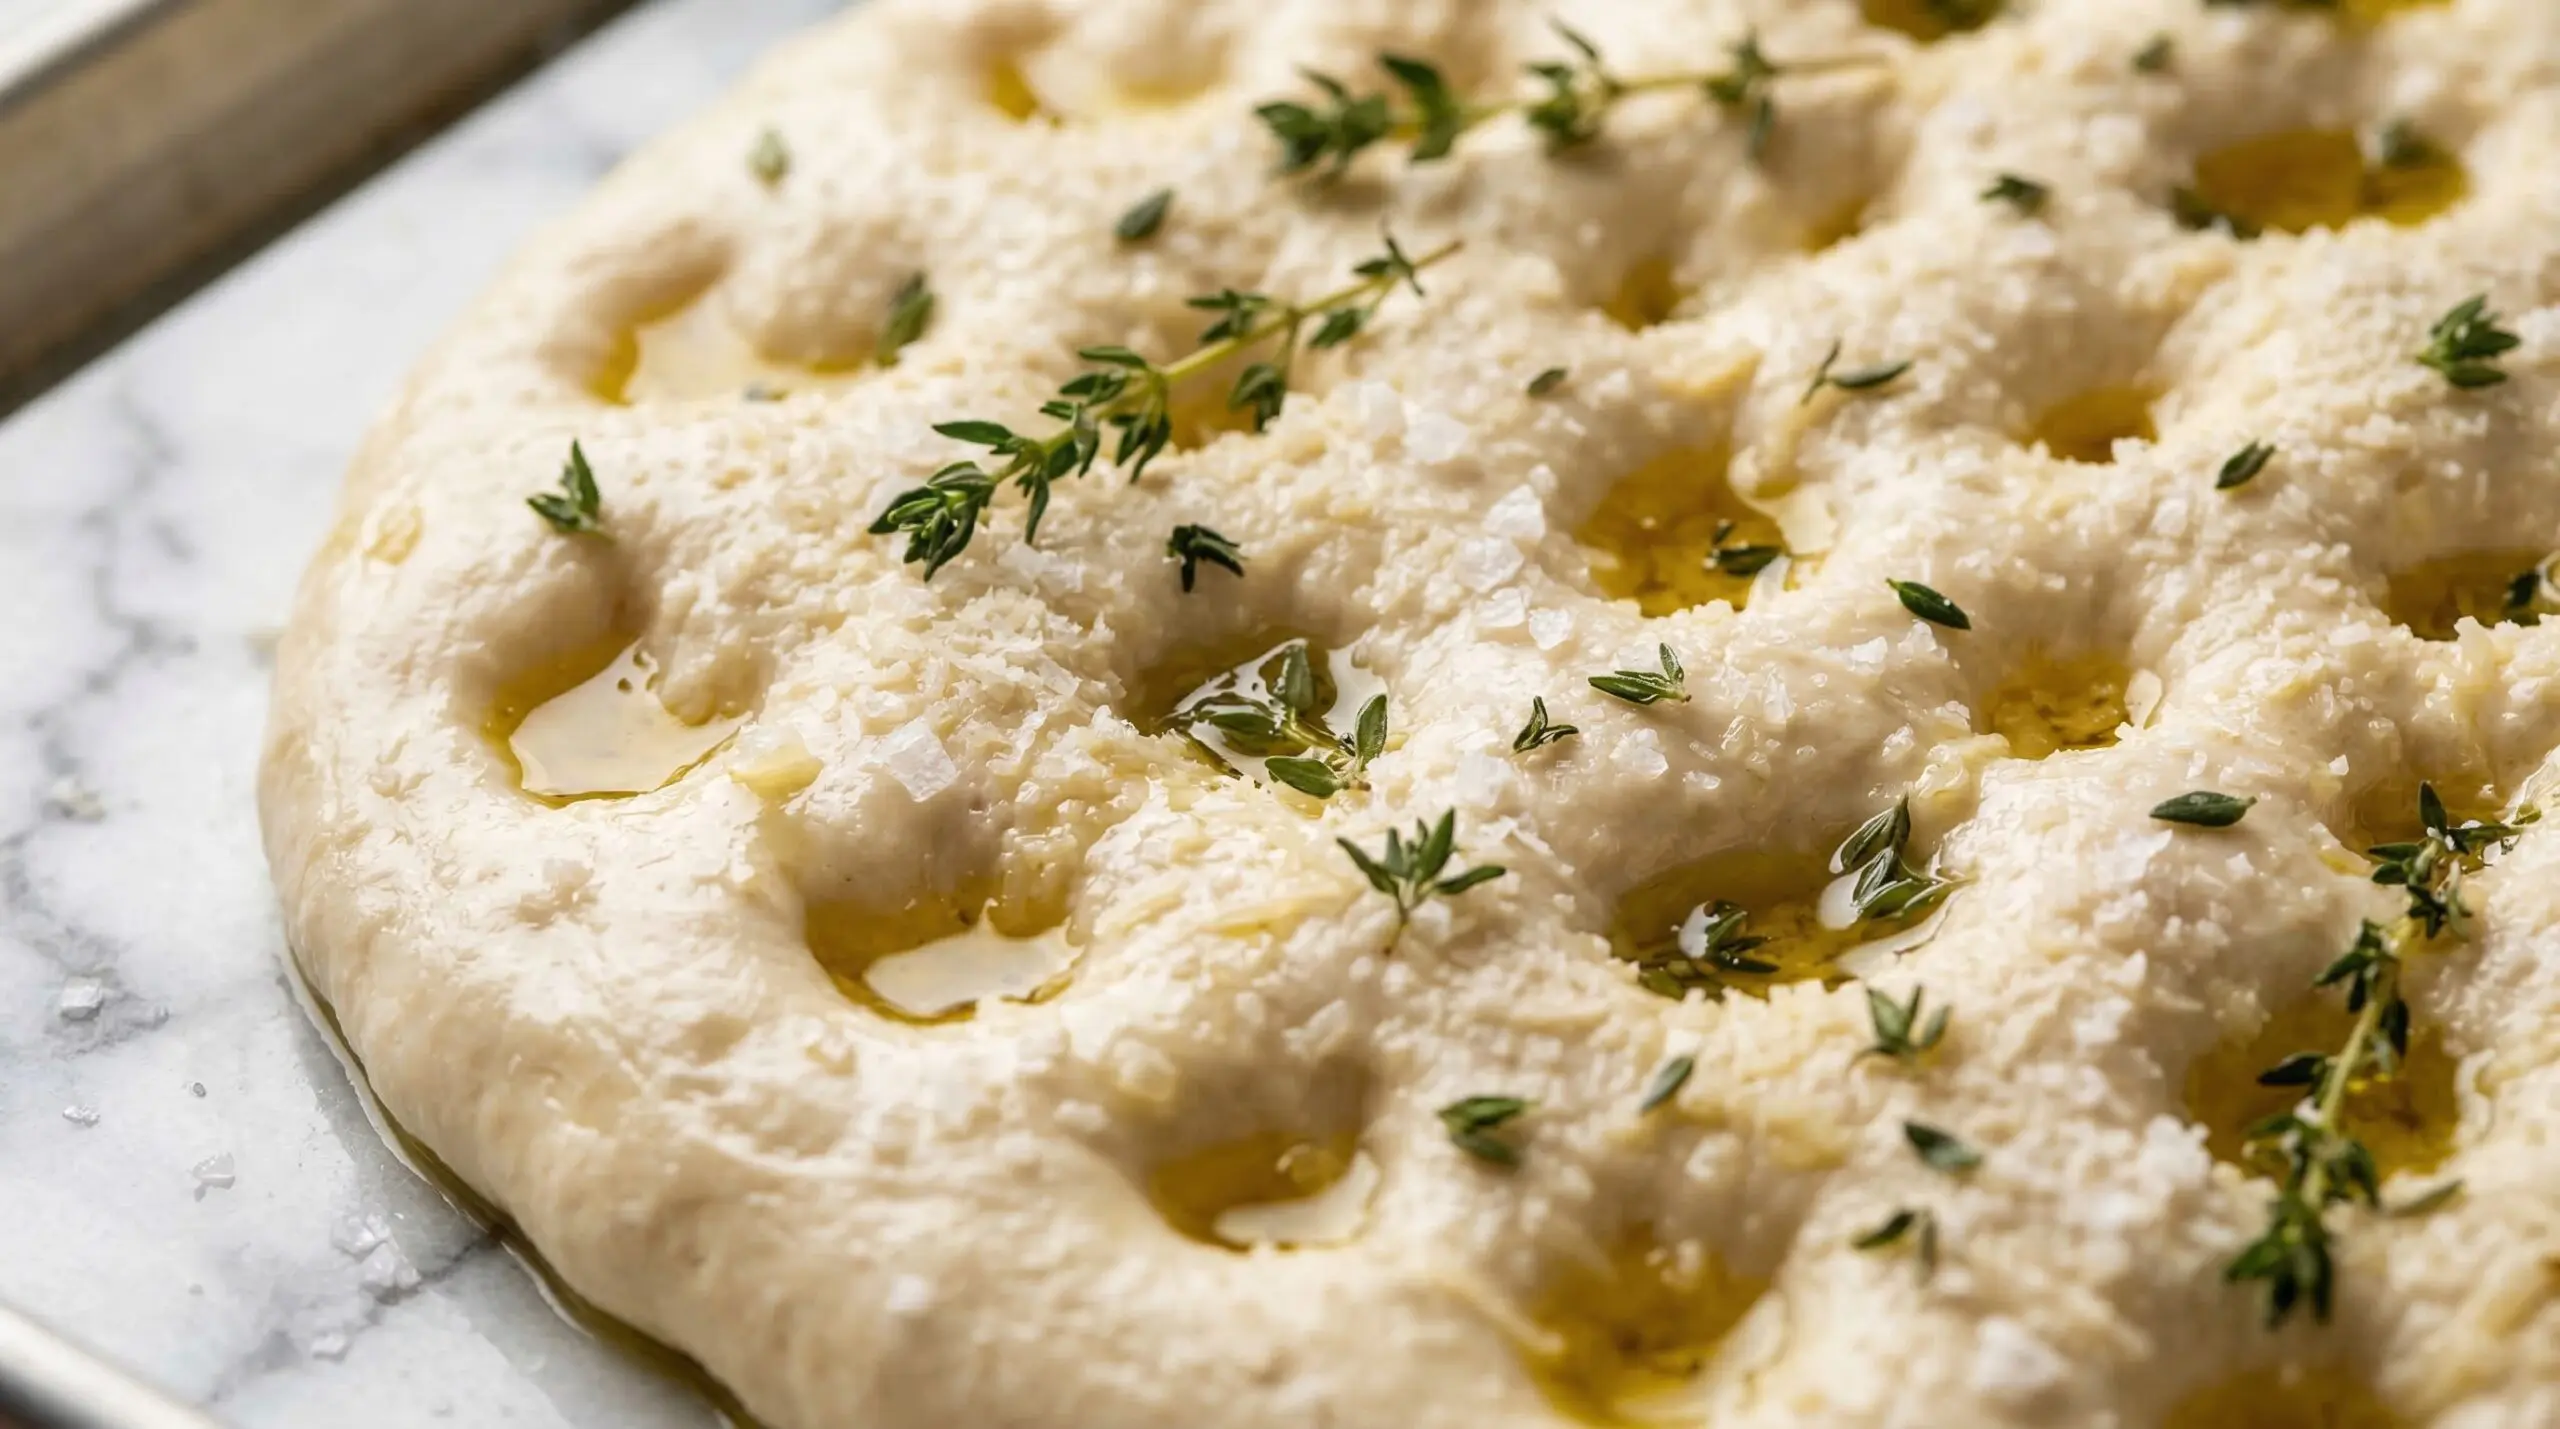
Decorating the Garden Top
Dimple the risen dough and arrange your vegetables and herbs into a garden scene across the top before baking. This is the joyful, artful part — press the decorations in well so they stay put, and let your imagination run, knowing the finished loaf will bake into a beautiful, edible garden.
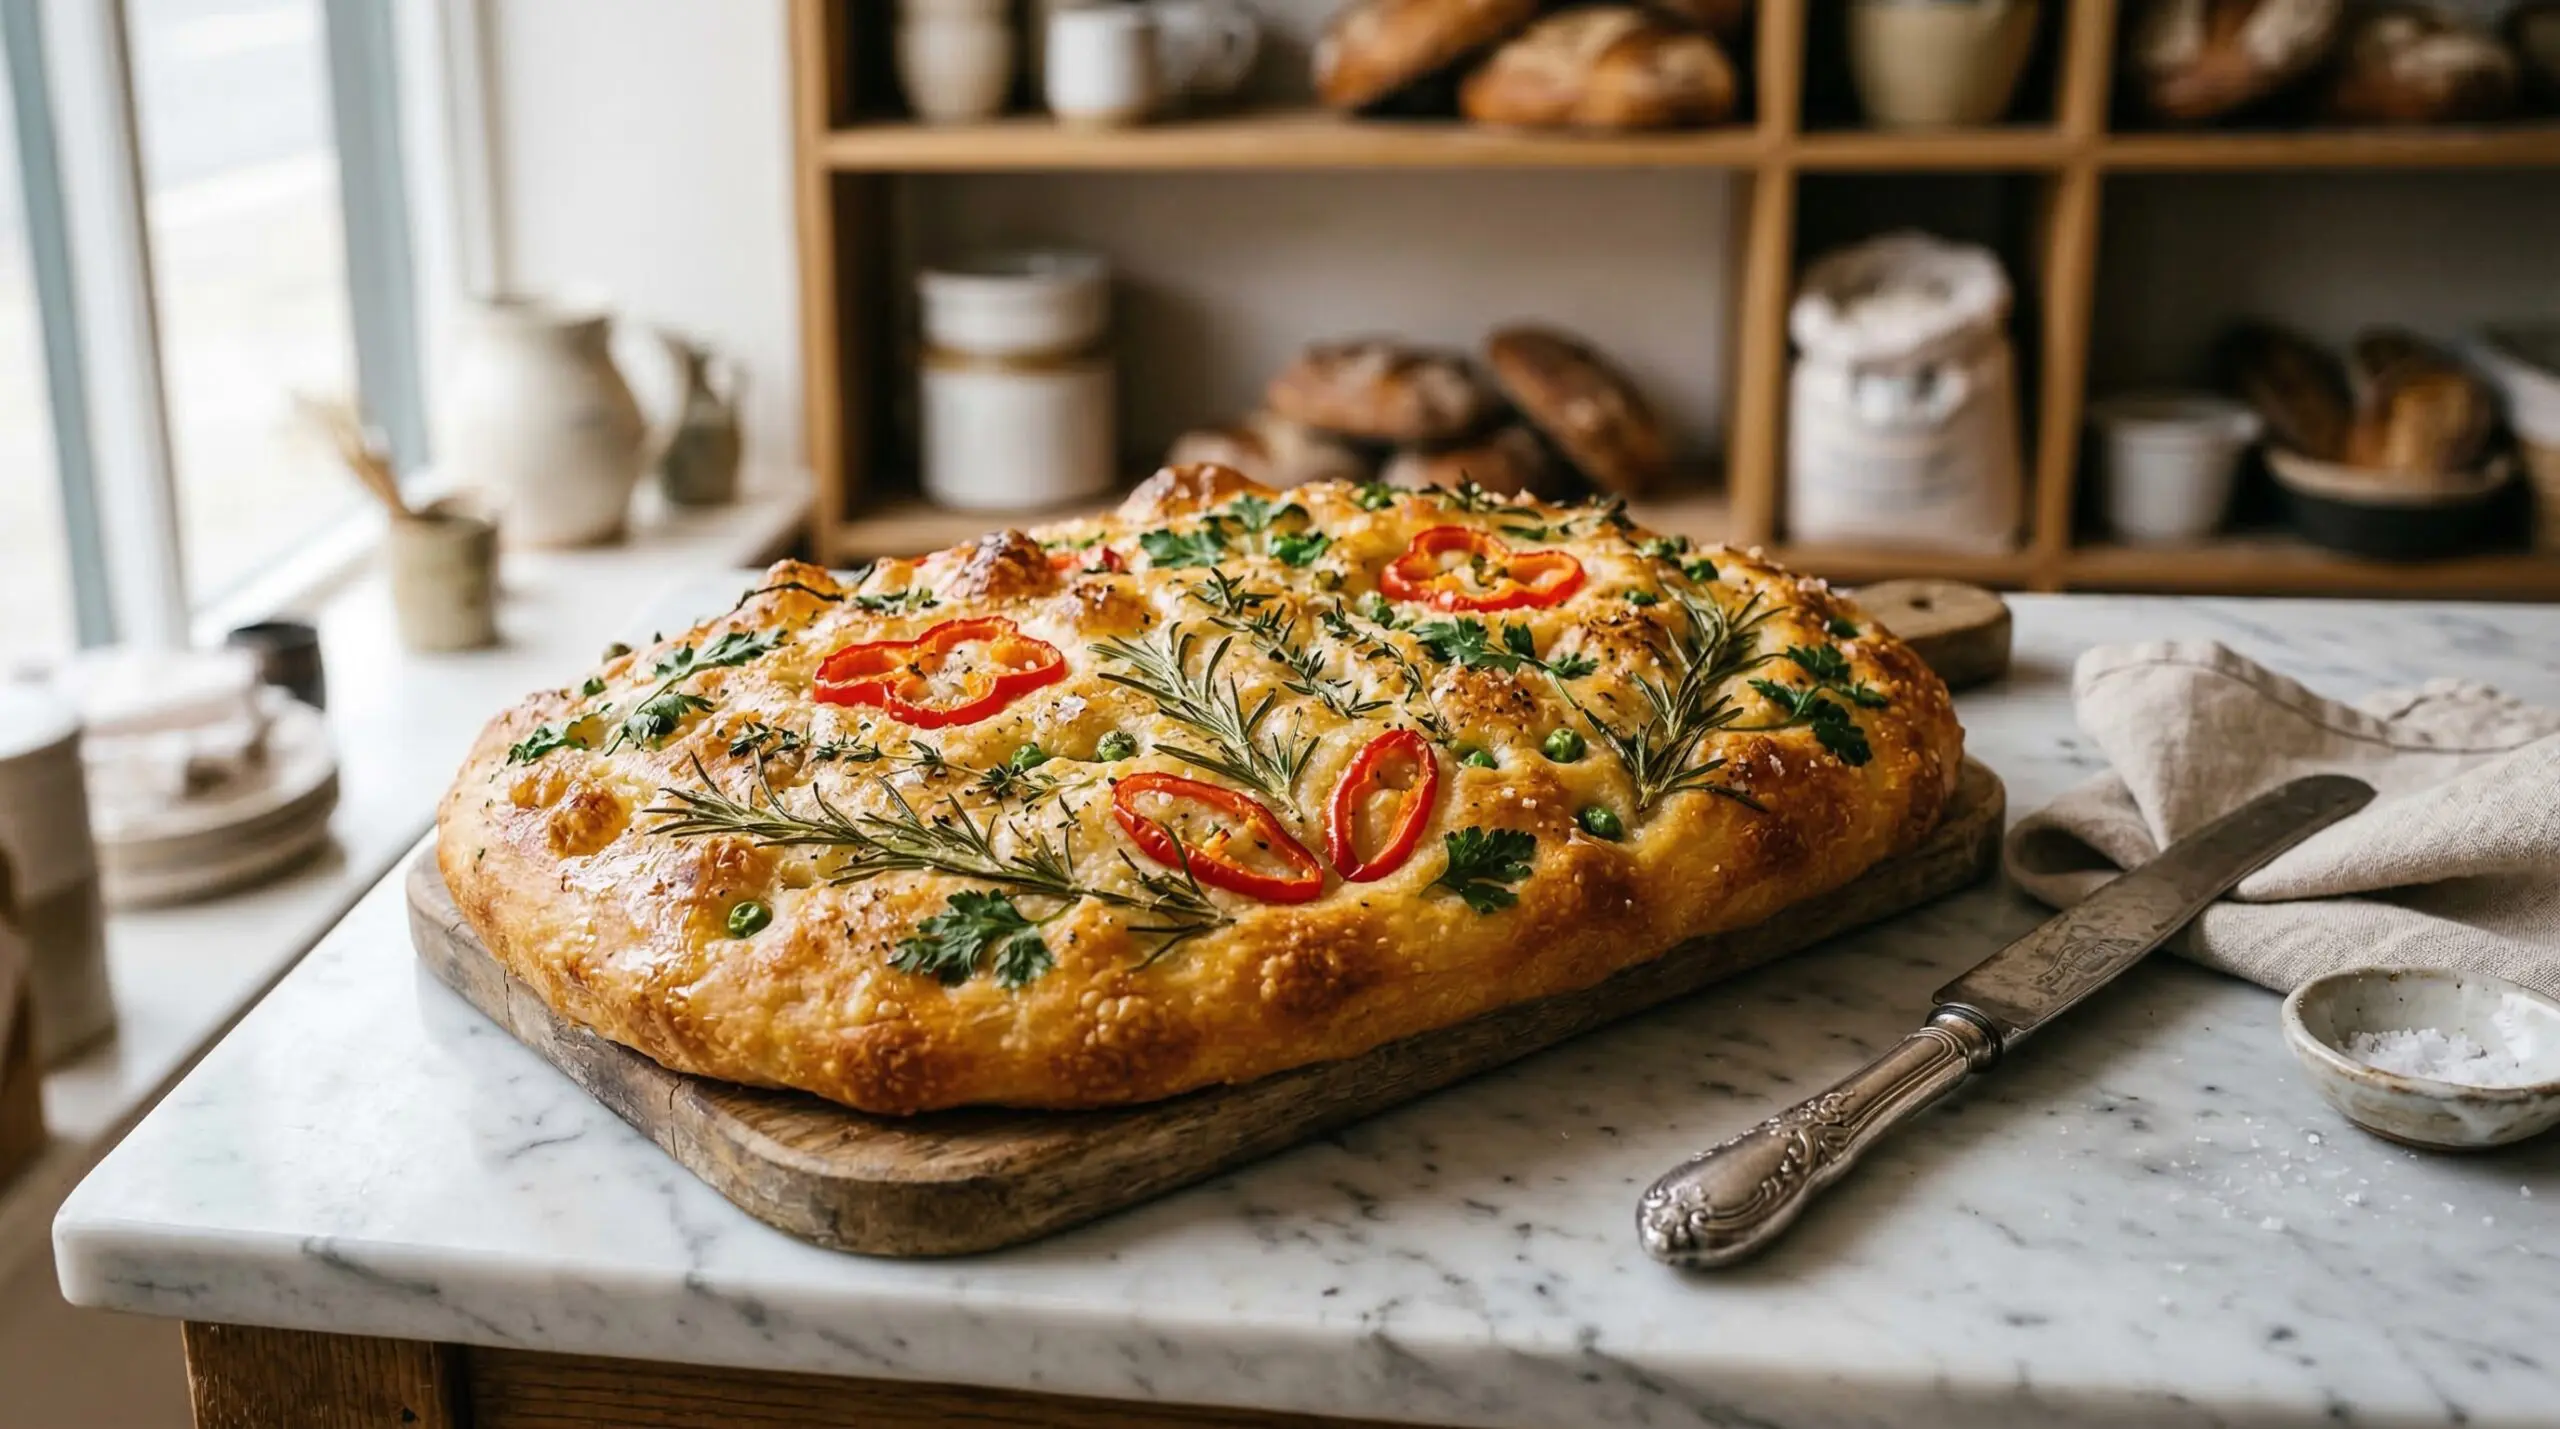
Garden Focaccia
Ingredients
Method
- Add the yeast and sugar into a small bowl. Stir in 1 ¾ cups warm water. Set the bowl in a warm place until the yeast is bubbling and fragrant, about 15 minutes.
- Place the flour, salt, ½ cup of olive oil, and the yeast water into the bowl of an electric mixer. Use a spatula to bring everything together.
- Once the dough comes together, use the dough hook attachment to knead the dough until smooth.
- Stop the machine and check the dough every couple of minutes. The dough should be smooth and elastic, hold its shape around the dough hook, and spring back when you poke it with your finger. This takes anywhere from 3 to 5 minutes using the mixer. If you are kneading by hand, knead until you can’t knead anymore!
- Transfer the dough to a lightly floured surface. Knead it by hand for an added 30 seconds. If the dough is too sticky, you can sprinkle with more flour.
- Form the dough into a ball and transfer to a bowl that has been lightly coated with olive oil. Cover with a clean towel and set in a warm place to rise until doubled in size, about 1 hour. I use my oven’s warming drawer for this step.
- Pour the remaining ½ cup of olive oil onto a (17 x 12 x 1-inch) jelly roll pan.
- Transfer the dough to the pan, stretching it out to fill the pan.
- Turn and coat with oil on both sides.
- Use your finger to make indentations in the dough. These will be the “nooks and crannies” to hold the seasoning in the next step.
- Set the dough in a warm place to rise again for 1 hour. Yep, the warming drawer is still the best place!
- Preheat your oven to 400°.
- If you choose to decorate your bread, this is the time!
- Decorate the top of the dimpled dough with your fresh vegetables, pressing them gently into the surface.
- If not, you can simply sprinkle with Parmesan cheese, flaky salt, thyme, and rosemary.
- Drizzle with a bit more olive oil. Bake until the top of the bread is golden brown, about 15 to 20 minutes.
- Cool the bread in the pan before cutting it into squares.
The Heart of the Table
An edible centerpiece like this is a generous gift to a gathering — it delights the eye before it ever feeds the table. There is a joyful, creative hospitality in making something so beautiful to share, a bread meant to be admired together and then torn into with happy abandon.

The Art of the Host
Press the vegetable decorations firmly into the dimpled dough so they stay in place, and bake until the focaccia is deep golden and crisp at the edges. Serve it on a board where its garden top can be admired before it is torn and shared.
Neighborly Grace
- The Preparation: The dough can be given a slow, overnight rise in the refrigerator, so you can decorate and bake it fresh on the day. The baked focaccia is best the day it is made, ideally served slightly warm.
- The Pour: A glass of crisp Italian white or a light red suits the herby, savory bread; for a non-alcoholic option, a sparkling water with lemon and herbs keeps the garden theme fresh.
- The Vibe: Present it whole on a board as a centerpiece, then tear and share it at a holiday gathering or dinner party. This is showstopping, artful baking — a beautiful edible garden made to be admired and devoured in equal measure.