September 20, 2022/
My classic shortbread cookie recipe is made even better with a delicious dark chocolate drizzle! Get the recipe for this easy cookie recipe...

My classic shortbread cookie recipe is made even better with a delicious dark chocolate drizzle! Get the recipe for this easy cookie recipe...
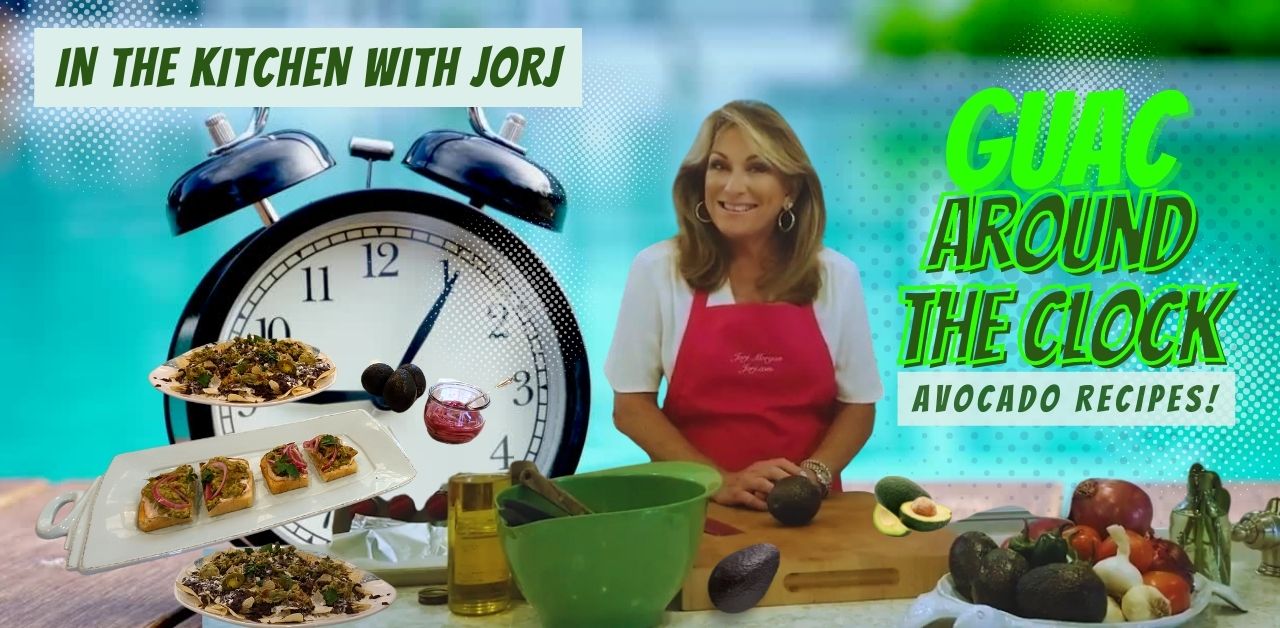
September 16 is National Guacamole Day, and what better way to celebrate than by making some delicious avocado dishes? 🥑 I will show...

Make Mother's Day weekend a fiesta in your kitchen with this fun (AND EASY) brunch recipe! Bonus: You may already have all of...