June 20, 2024/
Host a charming outdoor picnic party with a touch of Bridgerton elegance! Discover Jorj's top picnic menu recipes and delightful outdoor decor to...

Host a charming outdoor picnic party with a touch of Bridgerton elegance! Discover Jorj's top picnic menu recipes and delightful outdoor decor to...

May is Golf Month, and I'll show you how to plan the perfect after-golf party for your pals! Get my golf party planner...
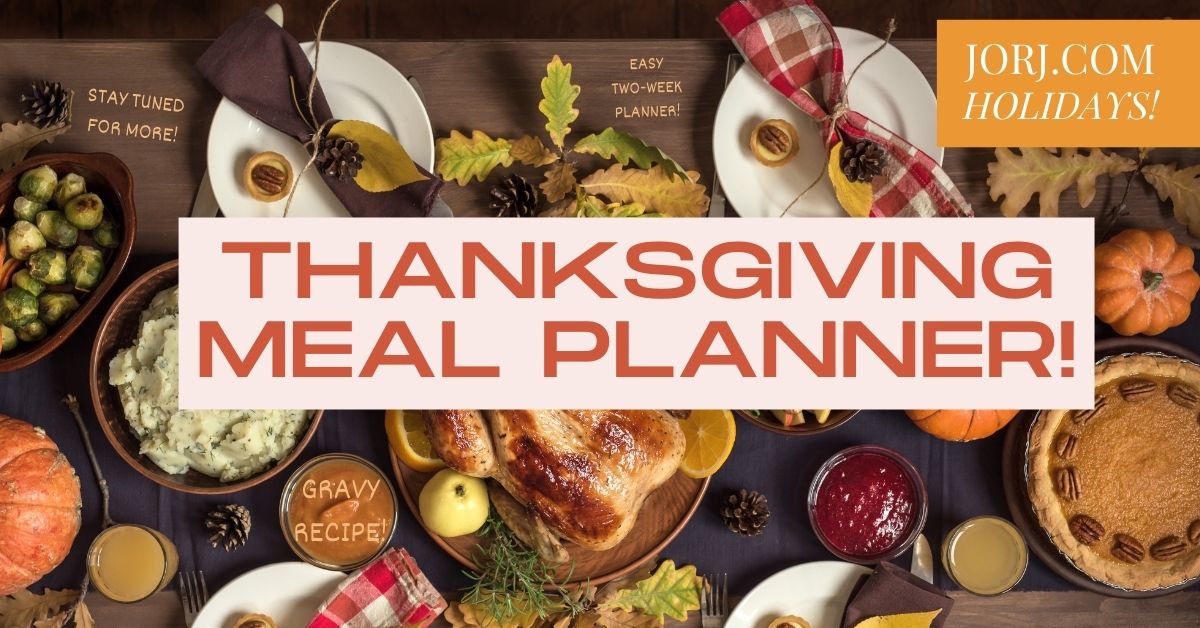
Take the stress out of Thanksgiving with this step-by-step Thanksgiving meal planning guide! Get my best tips and recipes to organize your best...