August 10, 2020/
Homemade pasta is not only delicious, but it’s a great activity to do with kids. Click for recipe to make pasta in all...

Homemade pasta is not only delicious, but it’s a great activity to do with kids. Click for recipe to make pasta in all...
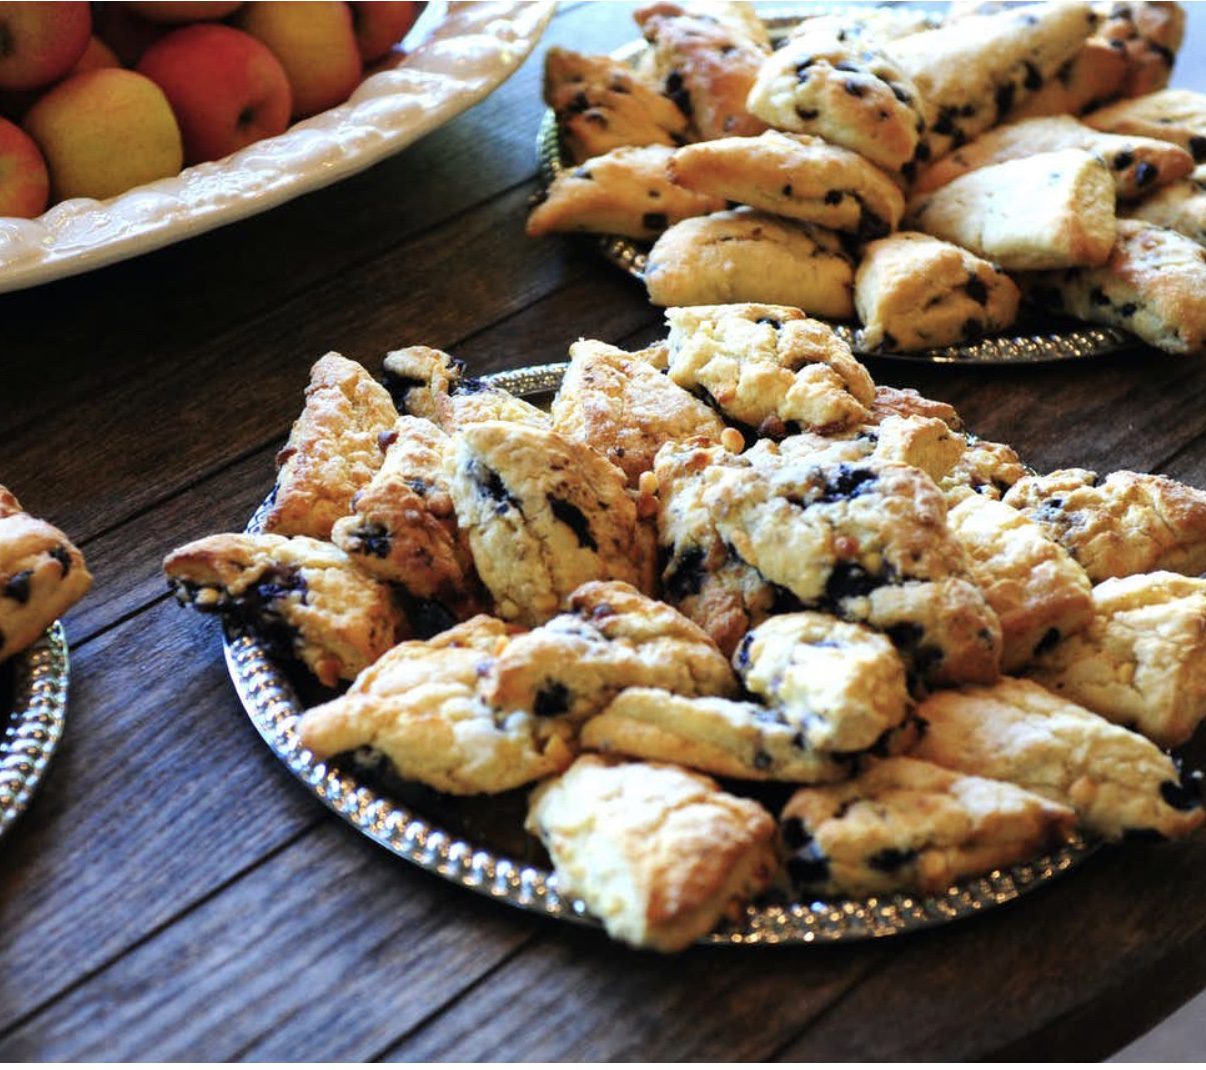
Summer camp canceled? Enter CAMP NANA! Create a memorable experience for your troop, starting with these scones.
HAPPY BIRTHDAY TO DR. SEUSS! March 2nd is Seuss Day around the world, so I’m here to celebrate it with my trippy recipe...