July 21, 2022/
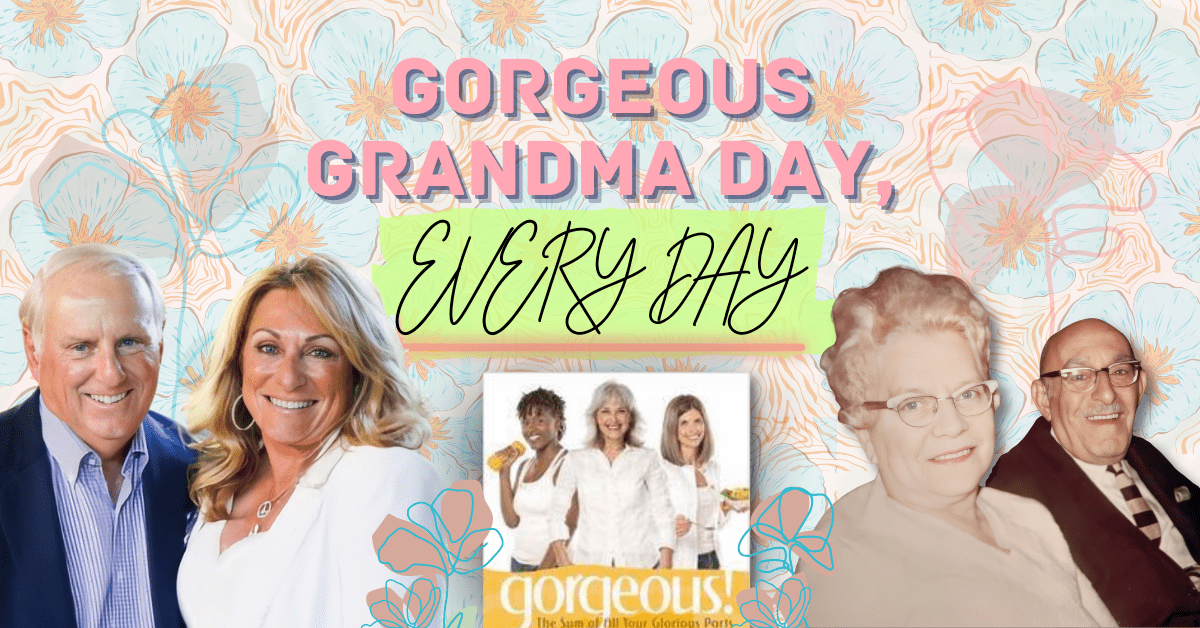
Feeling good starts from the inside out, from how you feel to how you eat. My gorgeous grandma inspired me, and I have...

Feeling good starts from the inside out, from how you feel to how you eat. My gorgeous grandma inspired me, and I have...
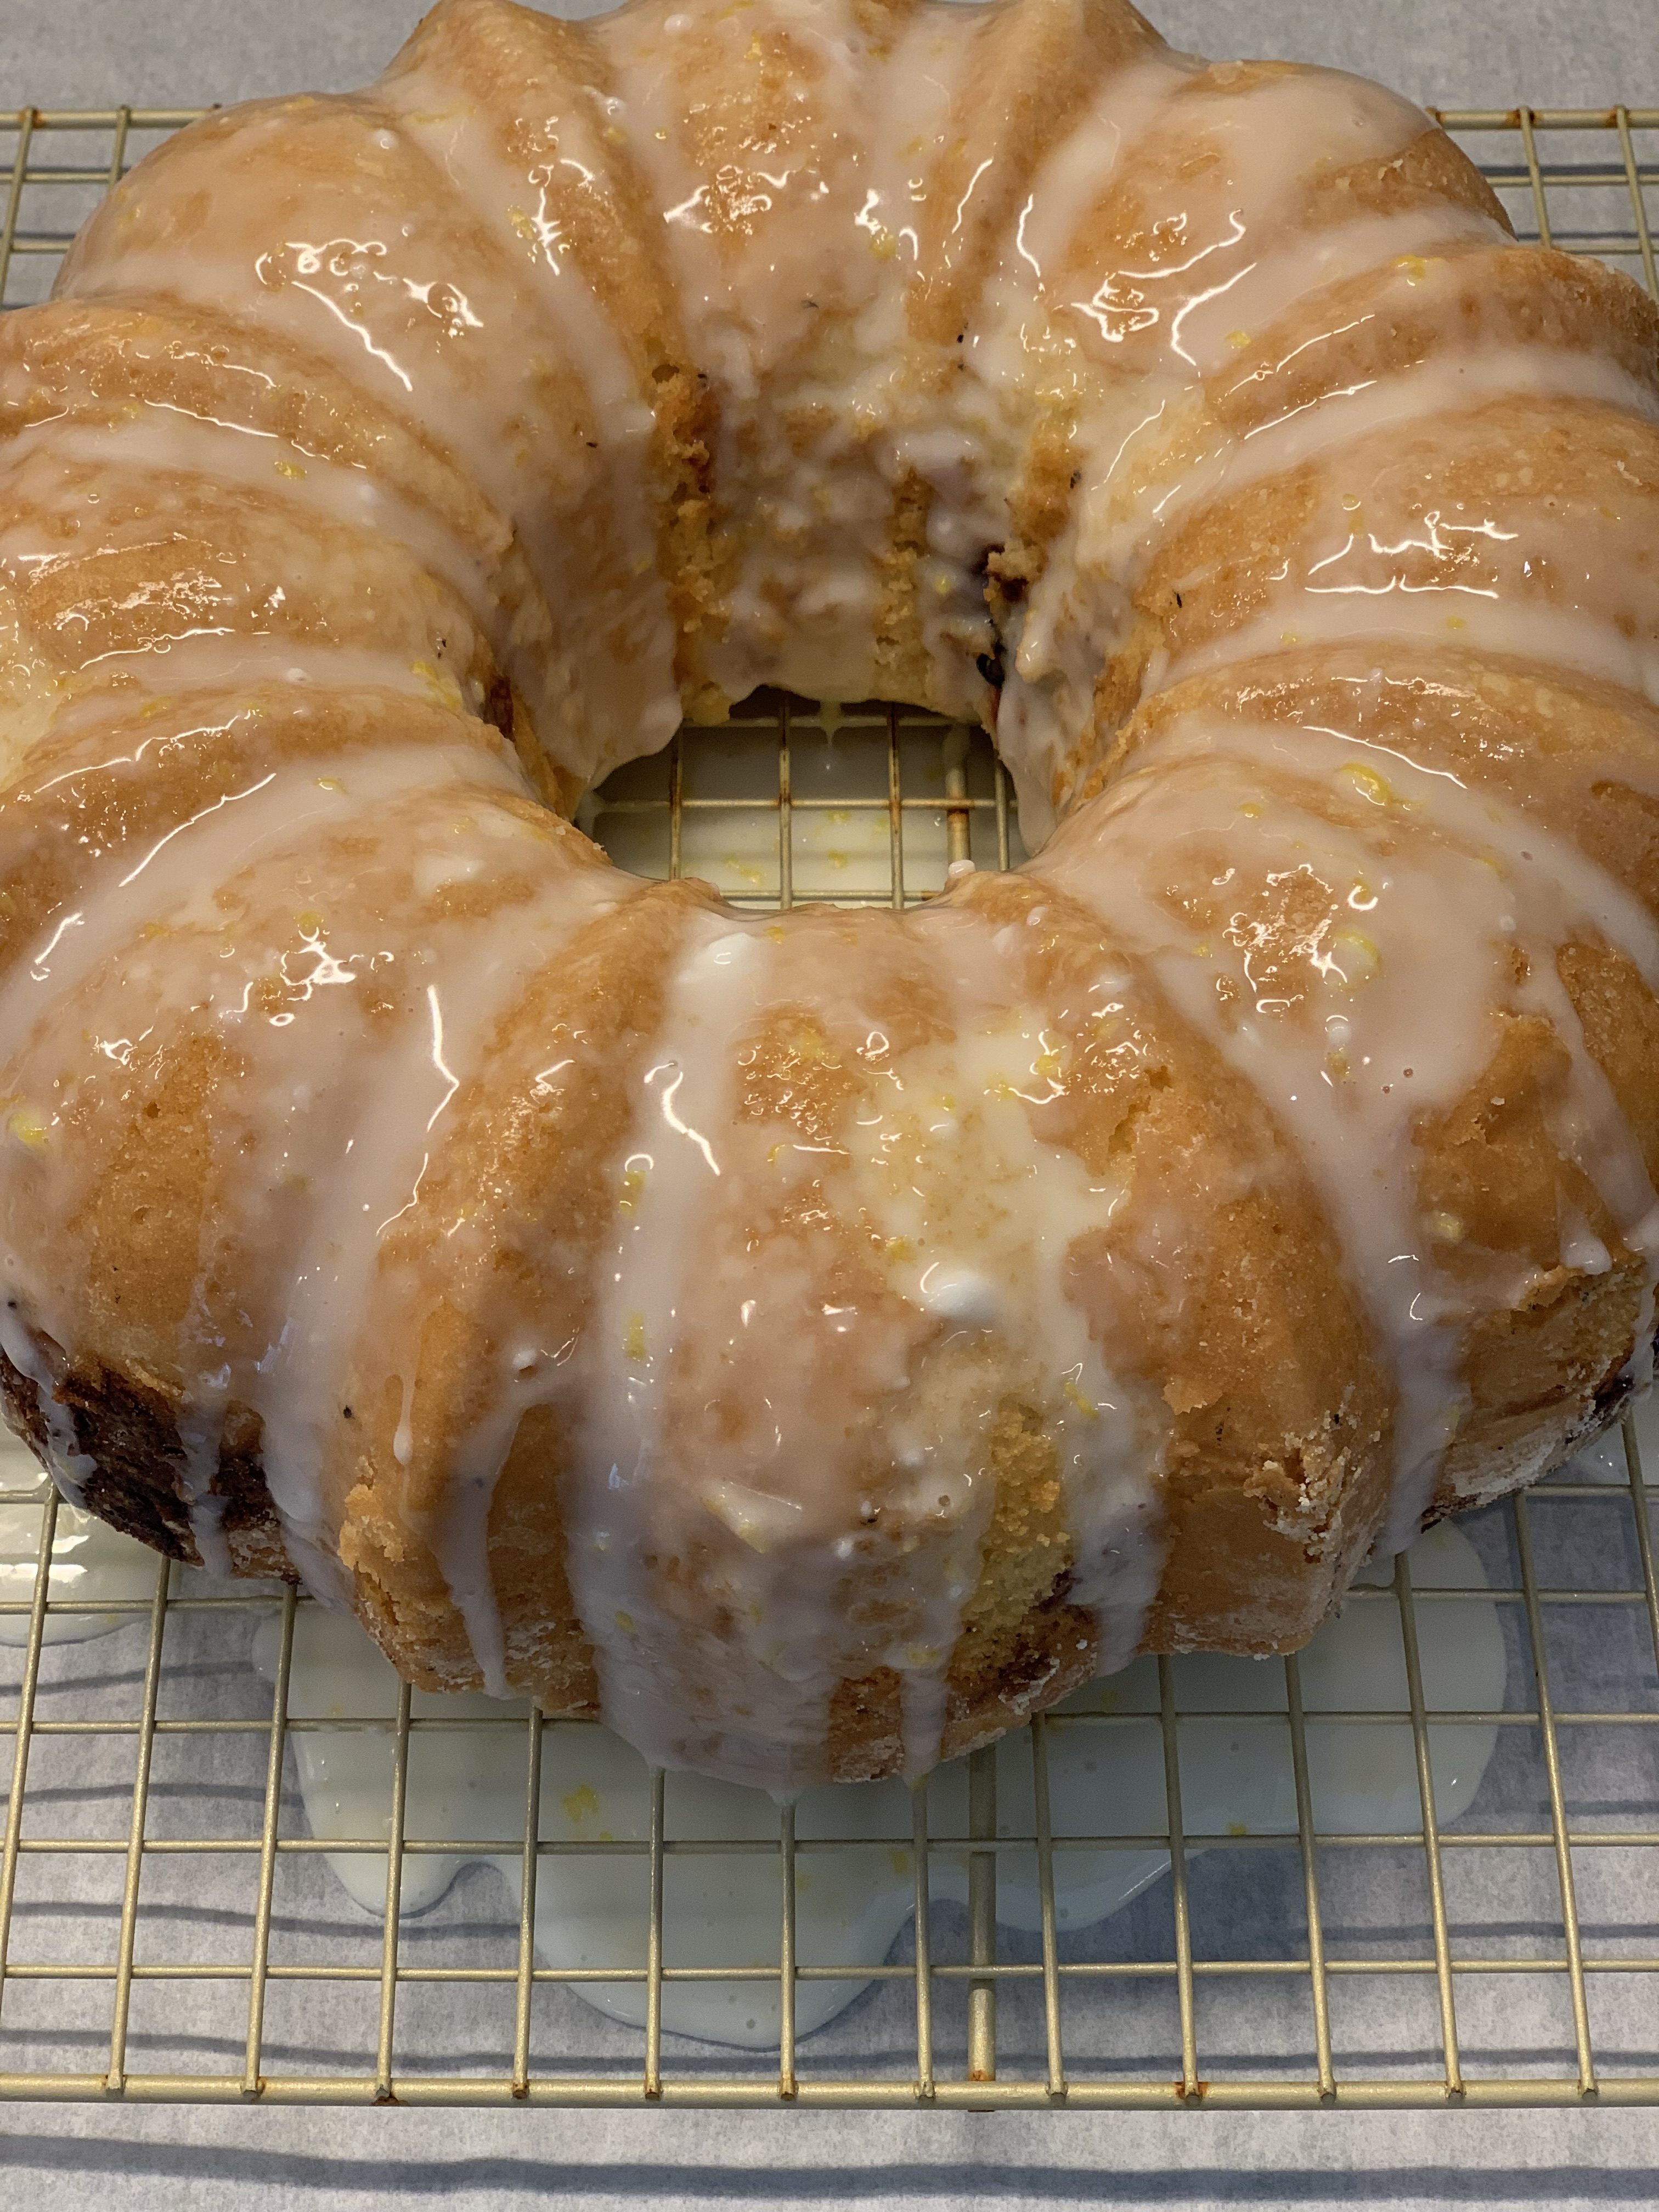
Leftovers yielded a luscious lemony cake, swirled with sugared berries and a bit of cream cheese (left over from the artichoke dip…..). Long...

School's out for Spring Break! Here's a special breakfast menu to serve overnight guests + activity for the little ones