November 10, 2022/
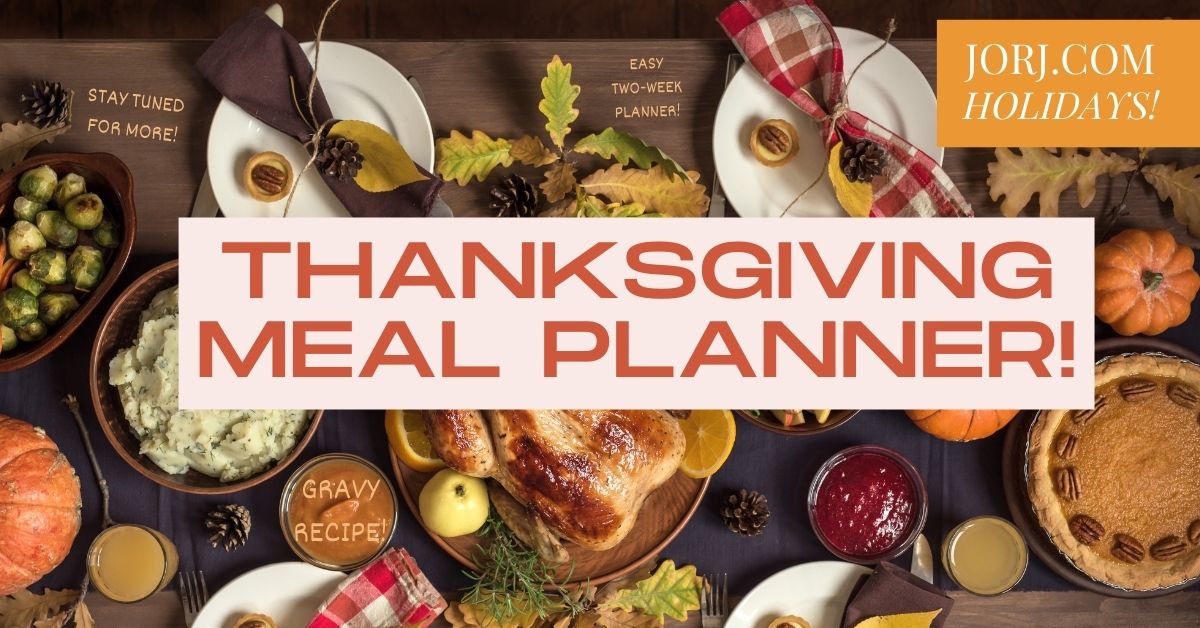
Take the stress out of Thanksgiving with this step-by-step Thanksgiving meal planning guide! Get my best tips and recipes to organize your best...

Take the stress out of Thanksgiving with this step-by-step Thanksgiving meal planning guide! Get my best tips and recipes to organize your best...
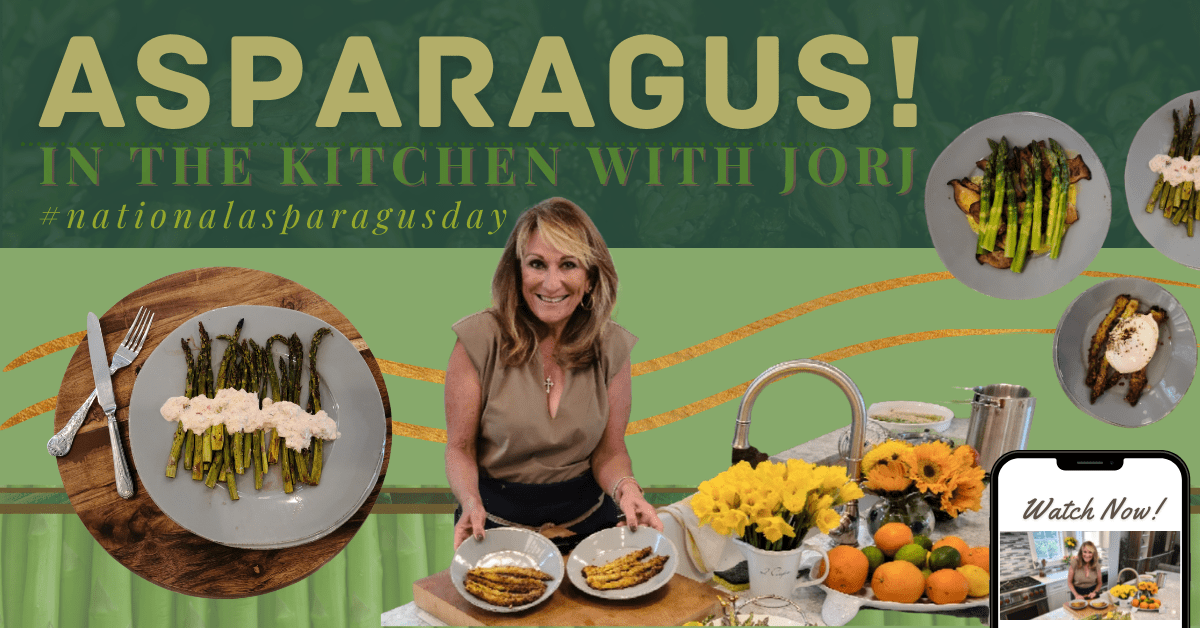
Join Jorj in the kitchen and learn along as we make three deliciously tender asparagus dishes! You'll be amazed at what you create.
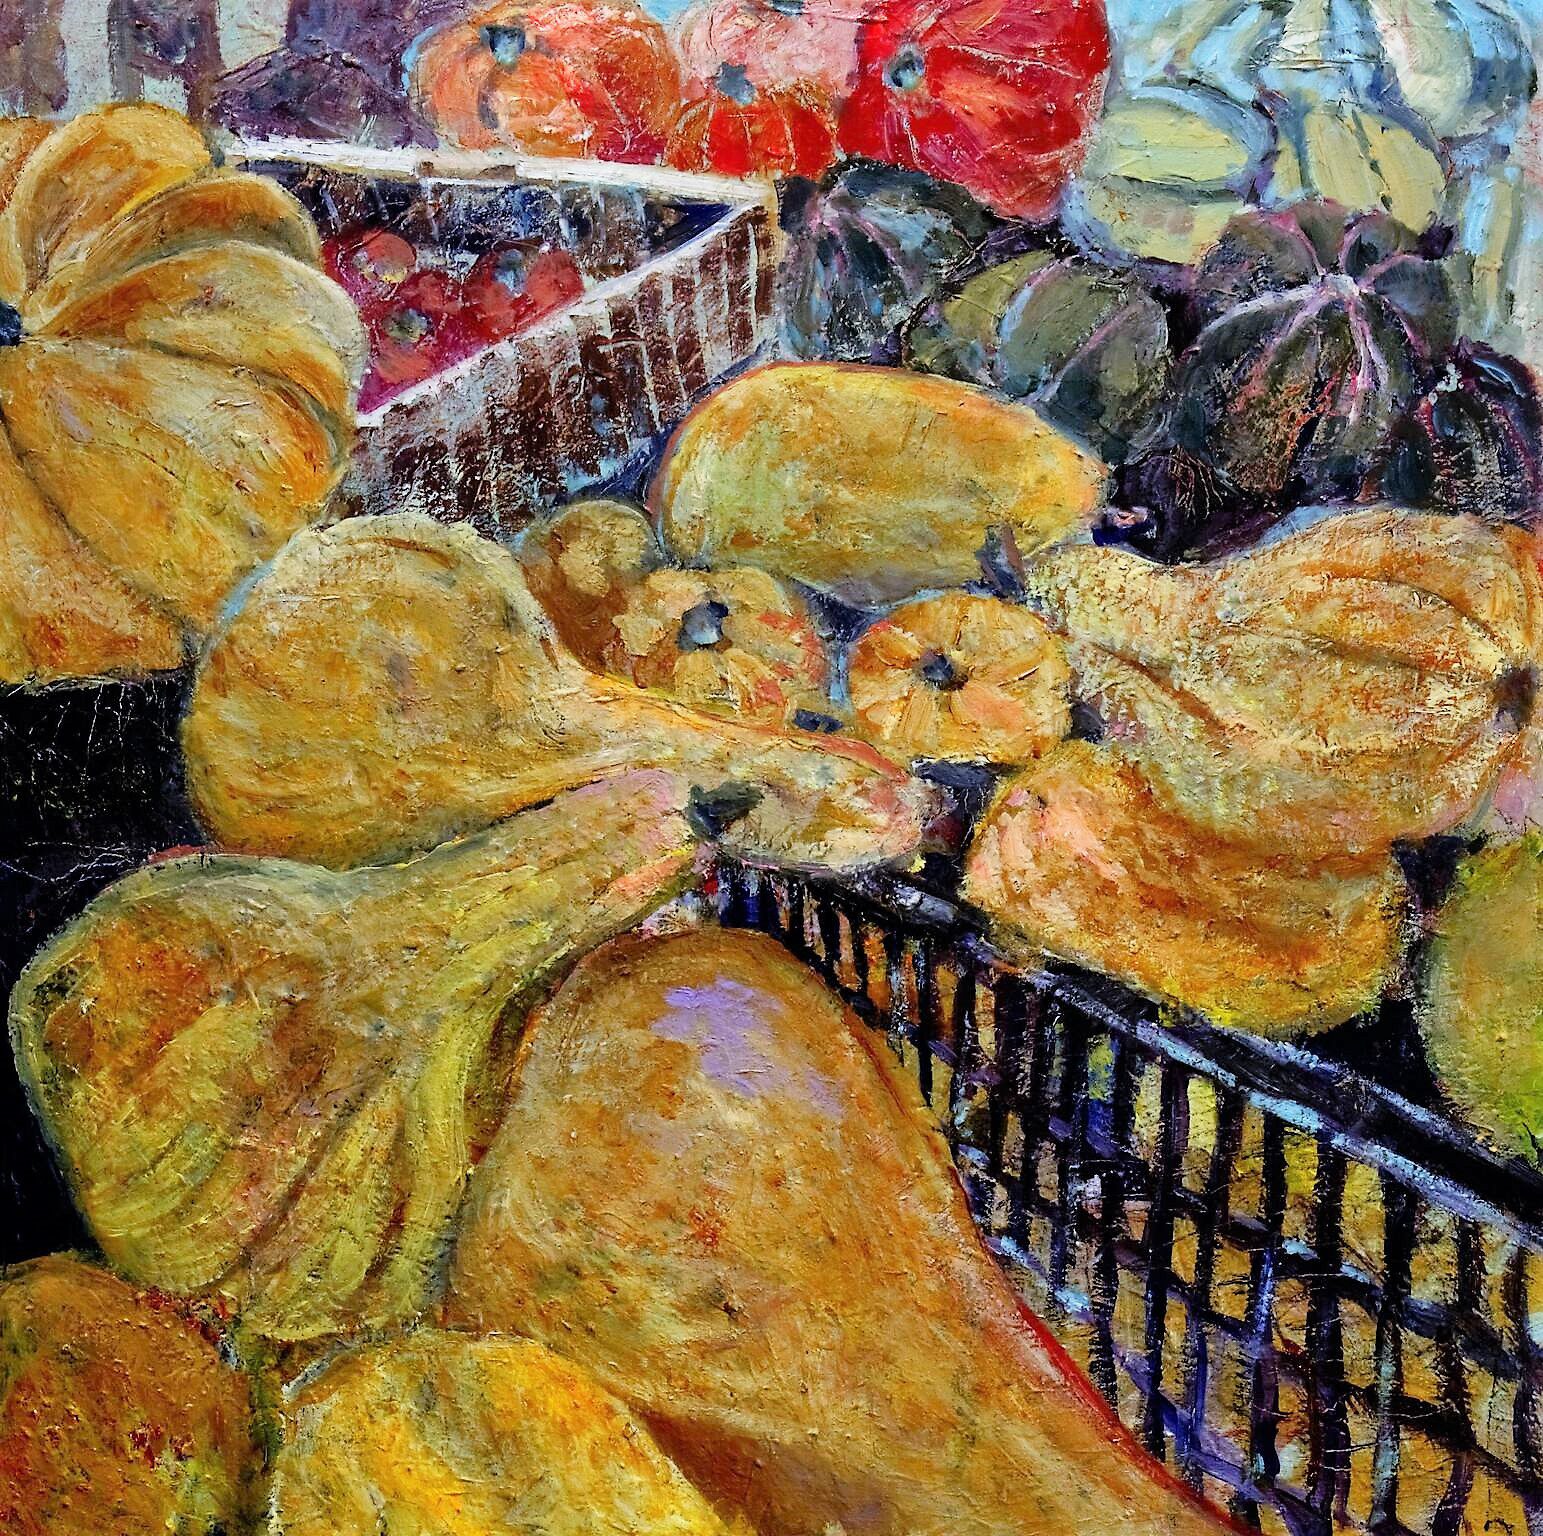
My stuffed squash comes with quite the story, as so many of my recipes do! The flavors for this dish are sweet, tart,...