March 4, 2019/
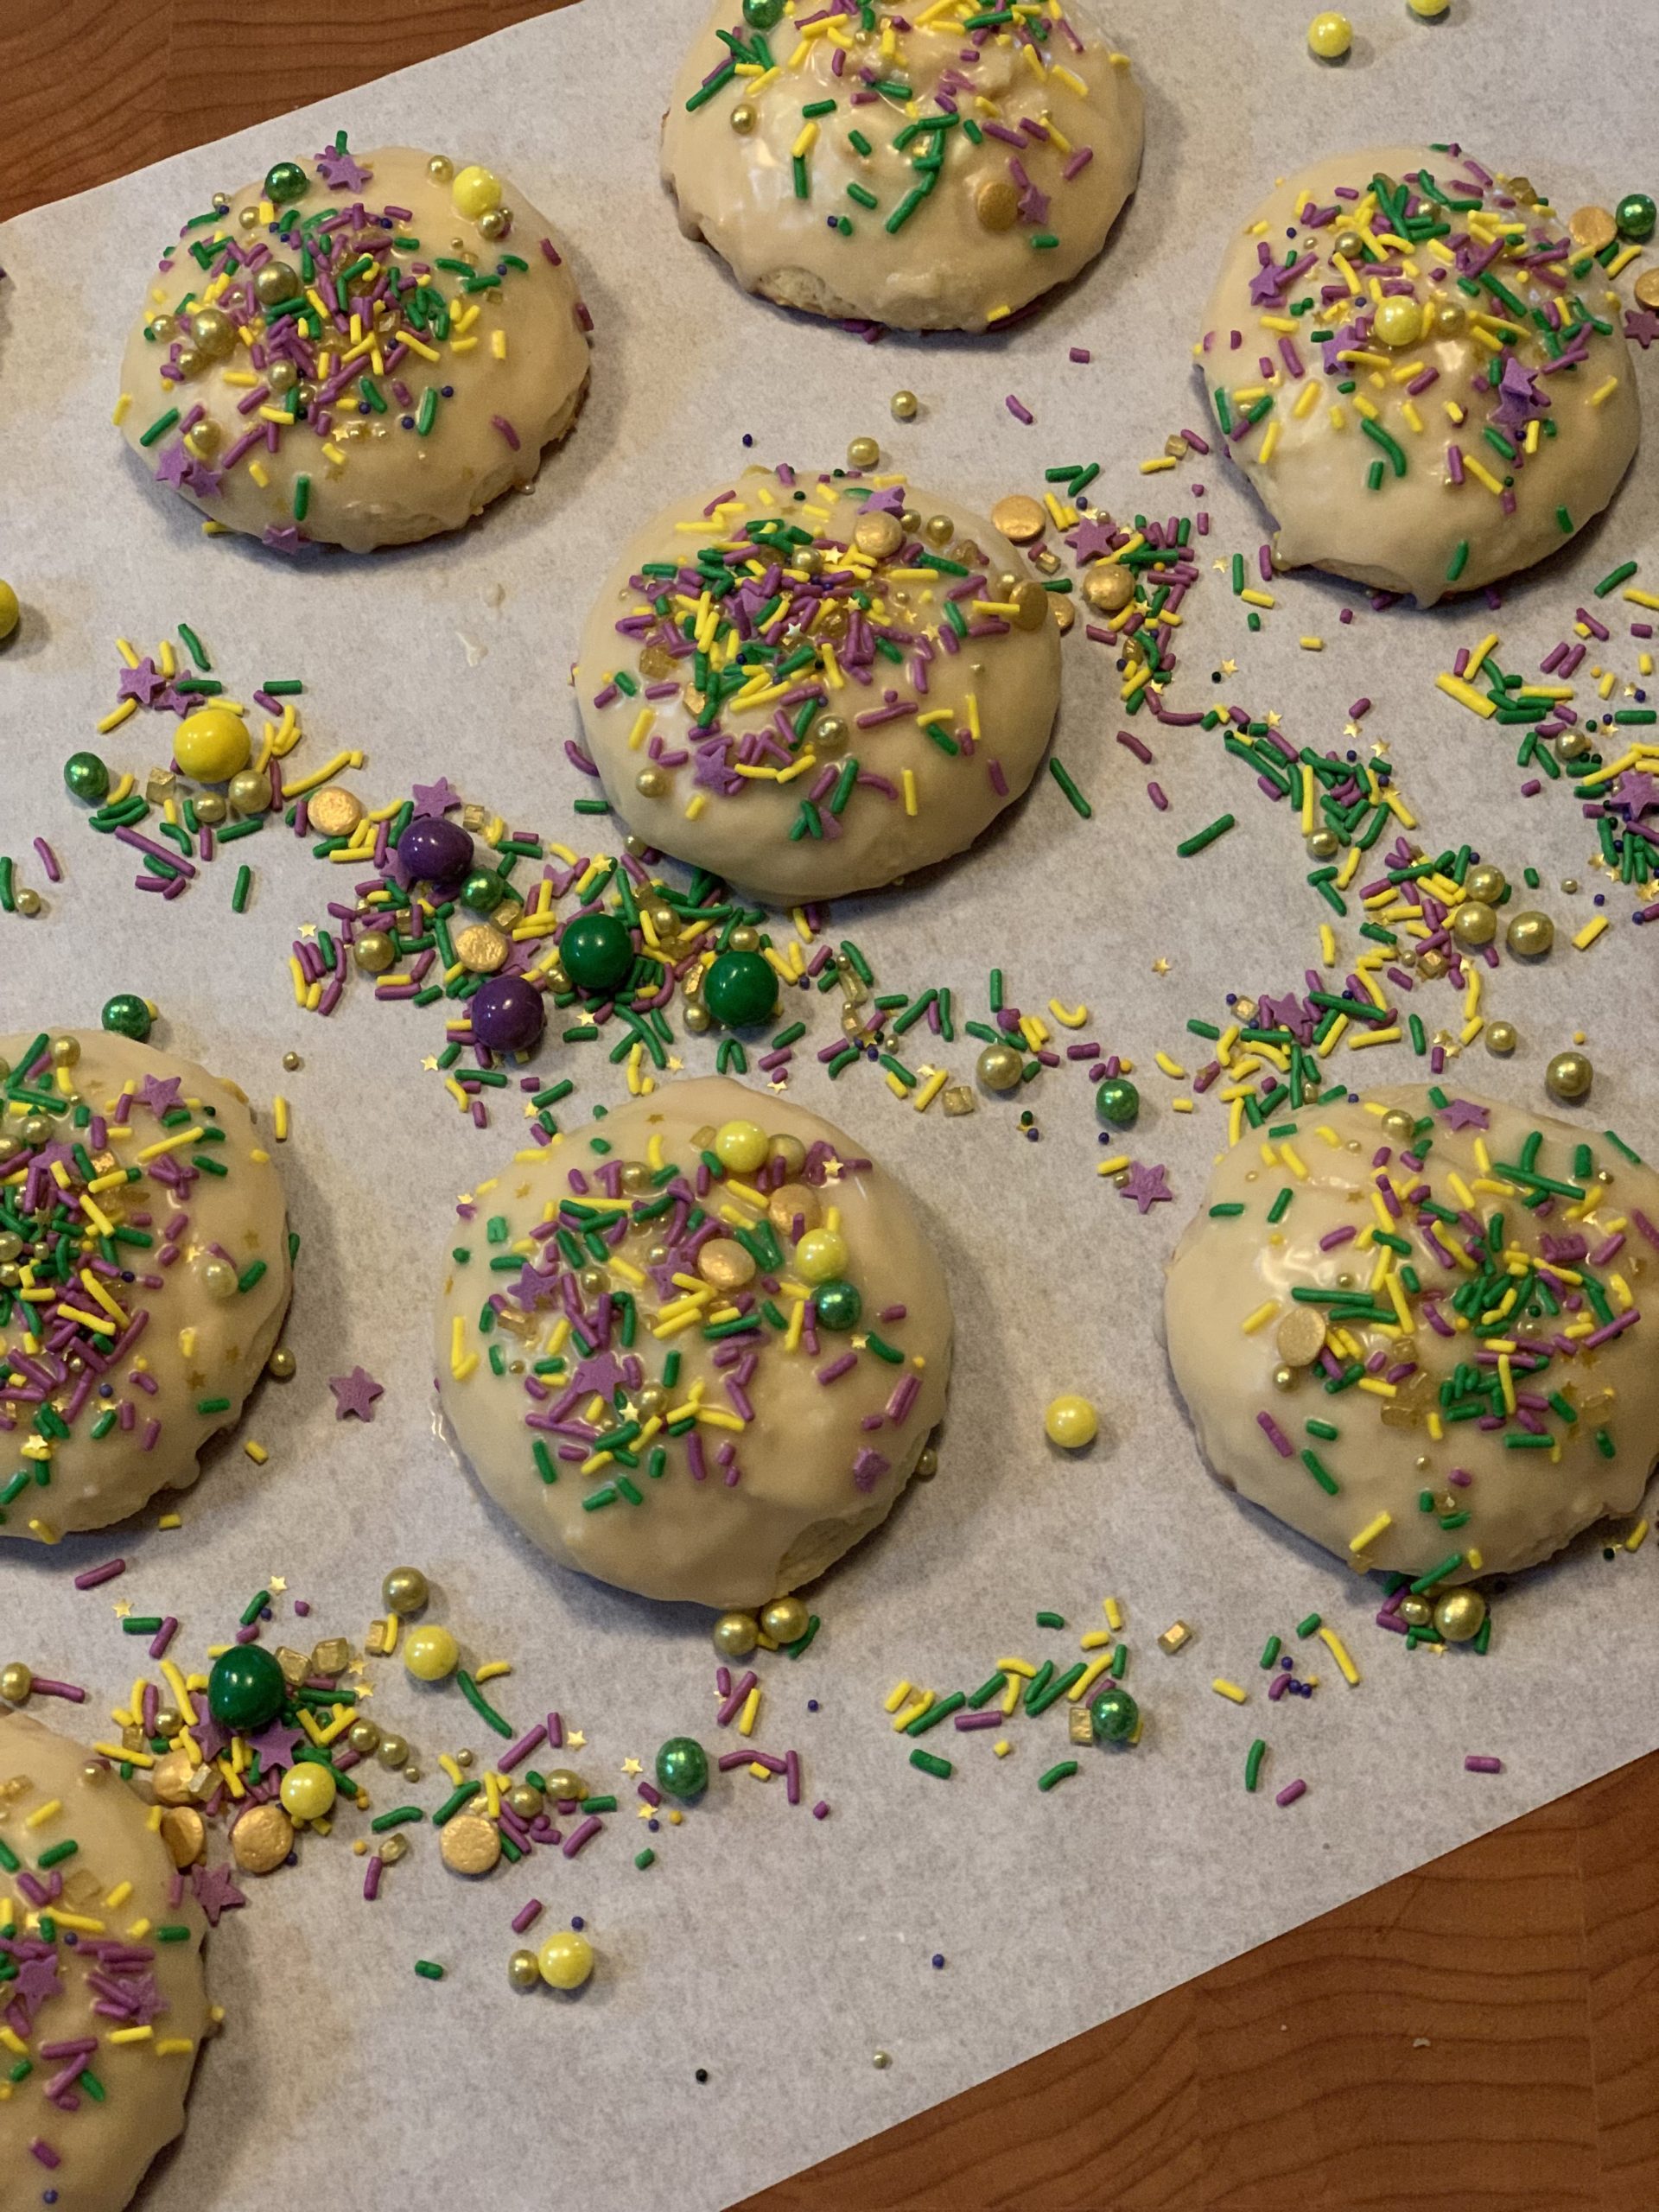
This is a New Orleans specialty, right up there with oysters and beignets, only I’ve turned it into a cookie!

This is a New Orleans specialty, right up there with oysters and beignets, only I’ve turned it into a cookie!
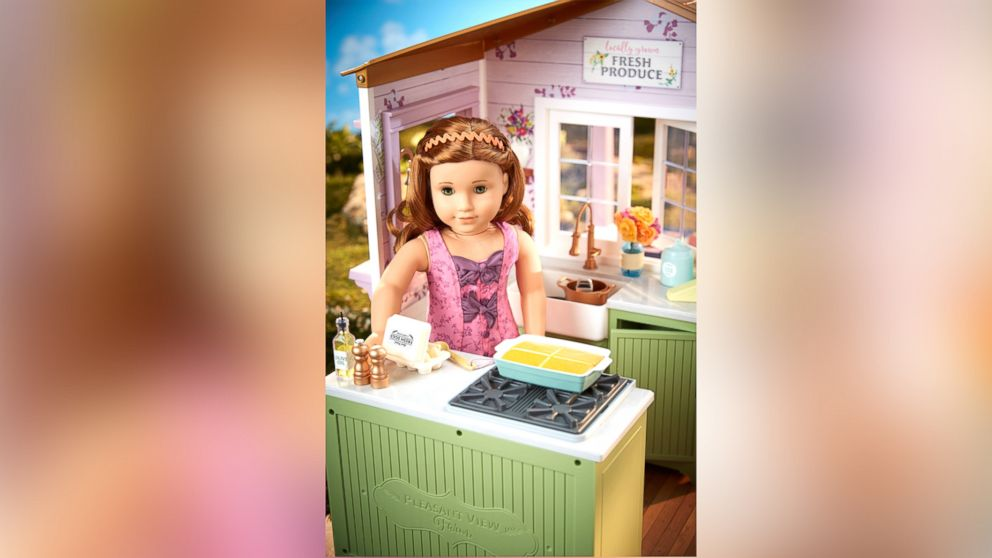
There was an abundance of food inspiration in my trip to the doll store. I chose an ice cream recipe to share...
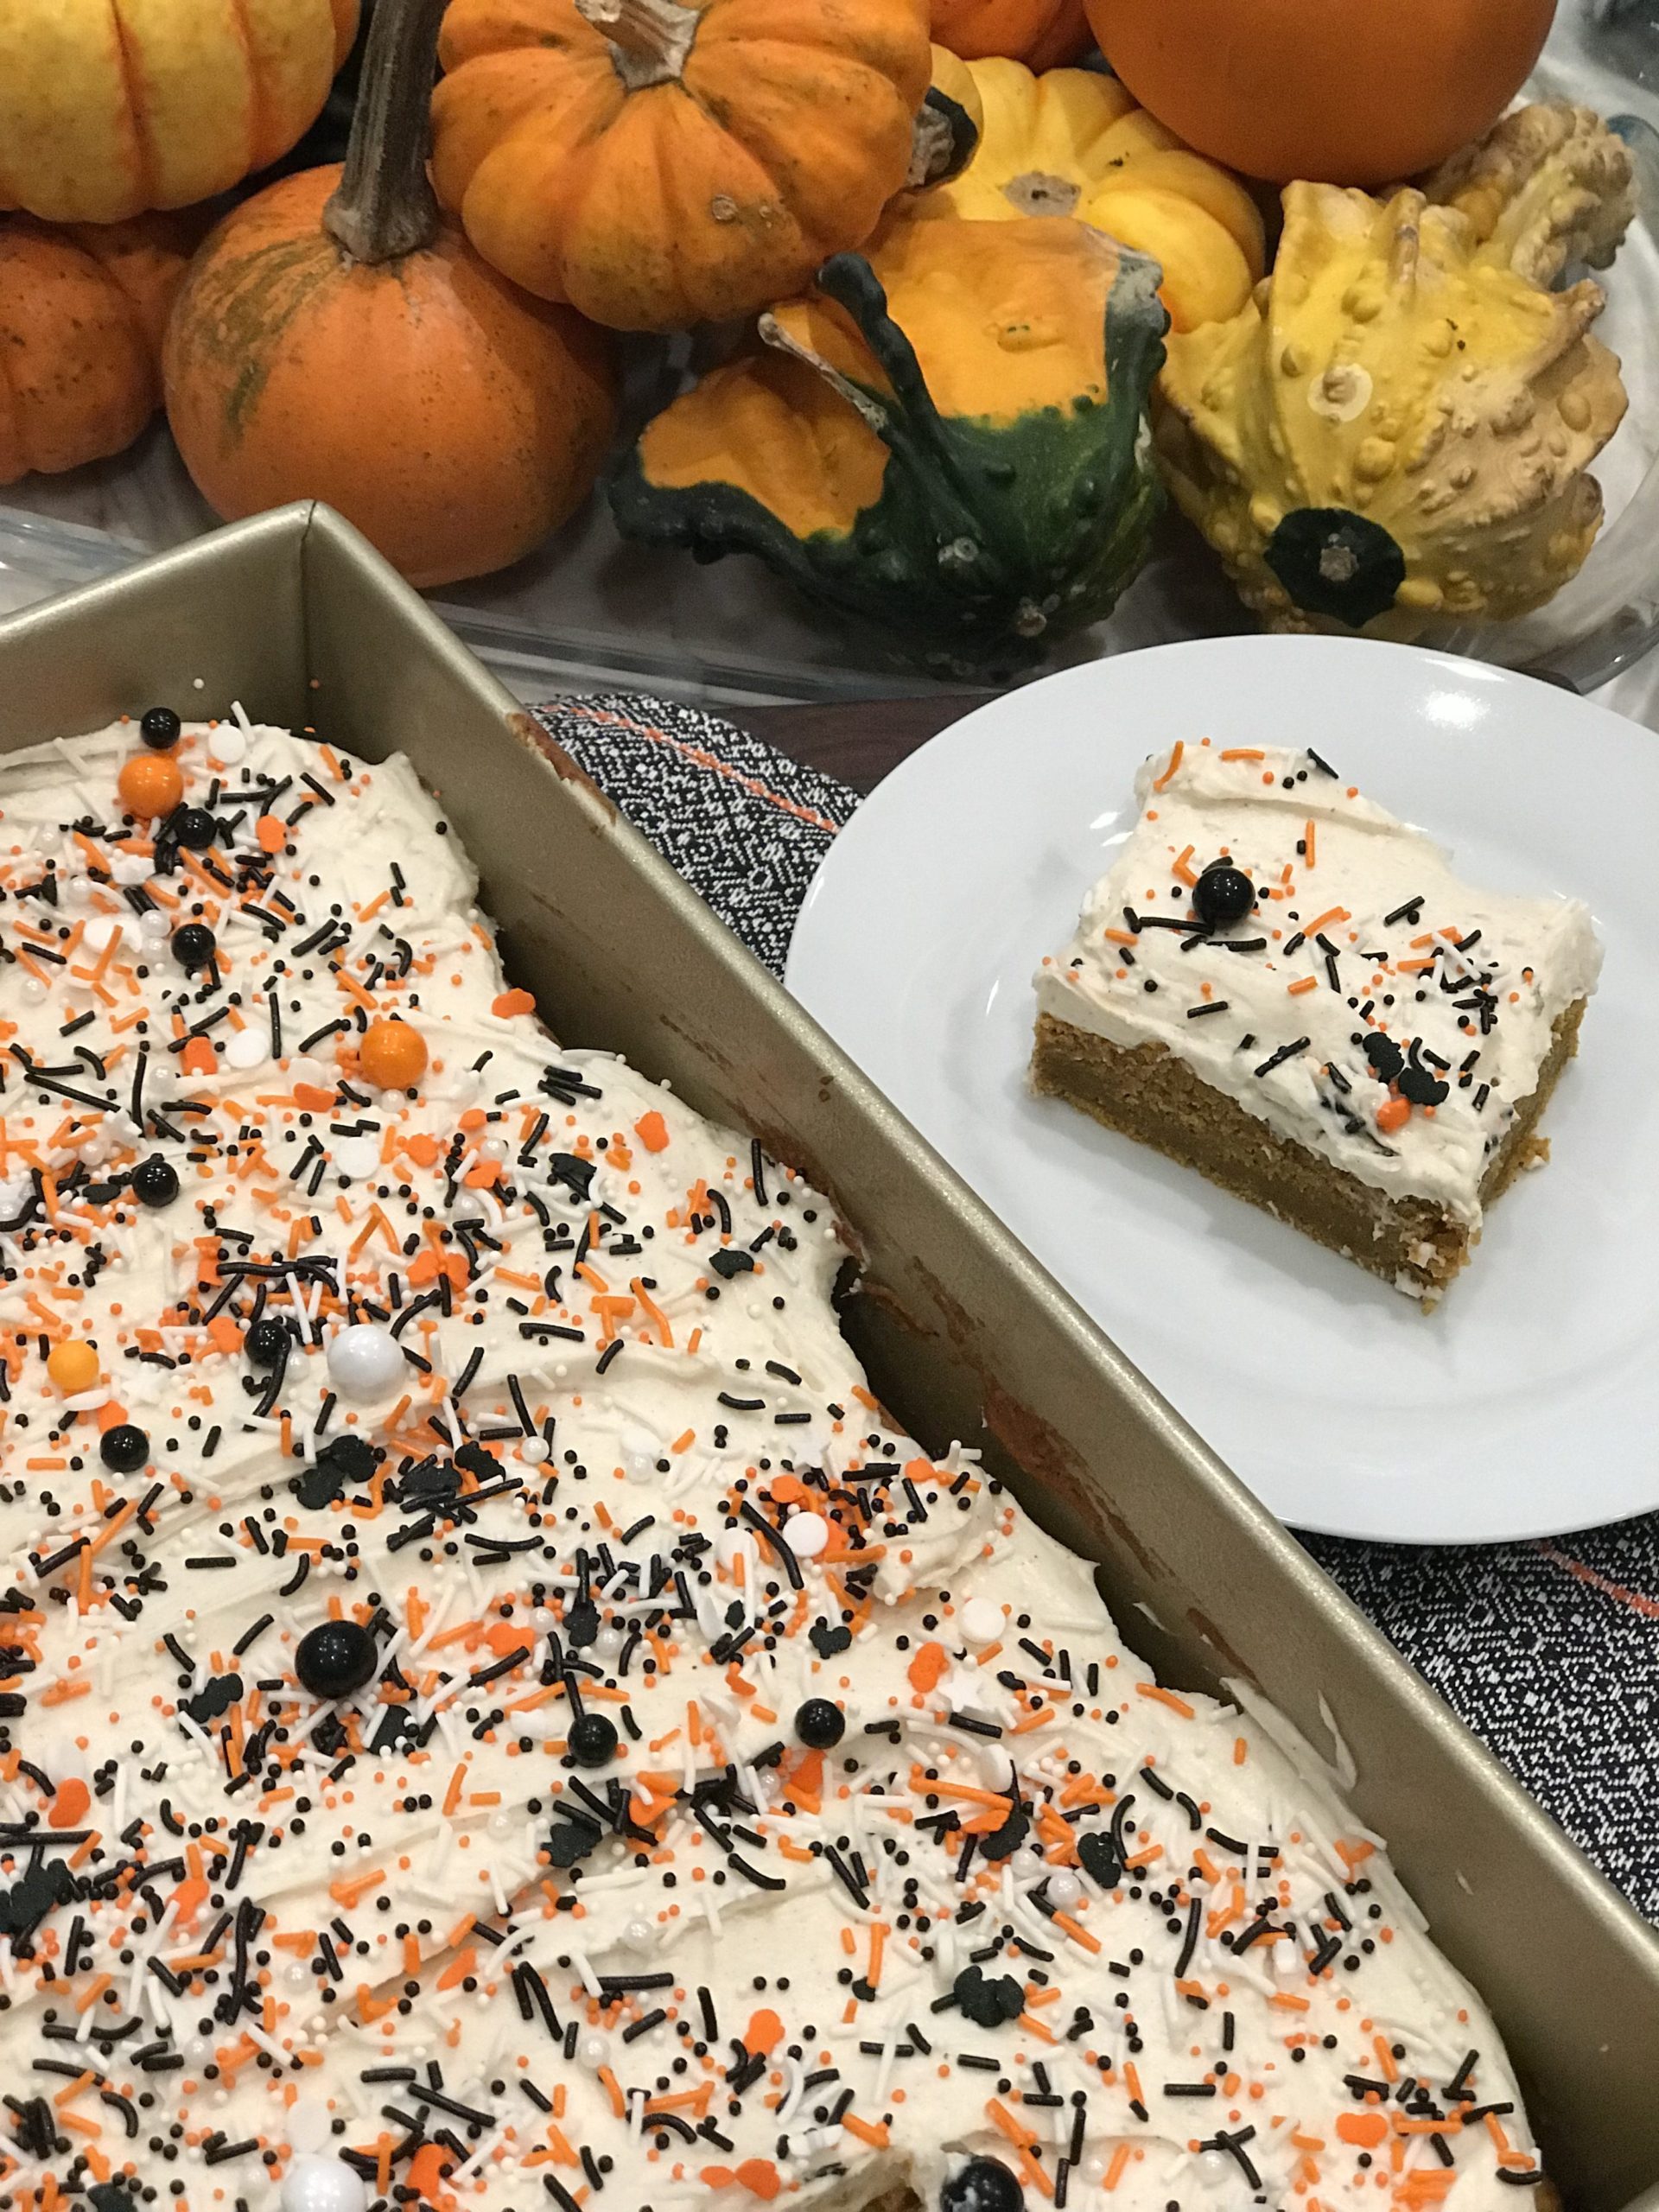
A frosted brownie and simple mug of soup really hit the spot when you’re traveling down those dark and spooky streets.