October 10, 2022/
Face your foodie fears with this Chicken Liver Mousse recipe, a timeless party appetizer that I've been enjoying since I was a kid!...

Face your foodie fears with this Chicken Liver Mousse recipe, a timeless party appetizer that I've been enjoying since I was a kid!...
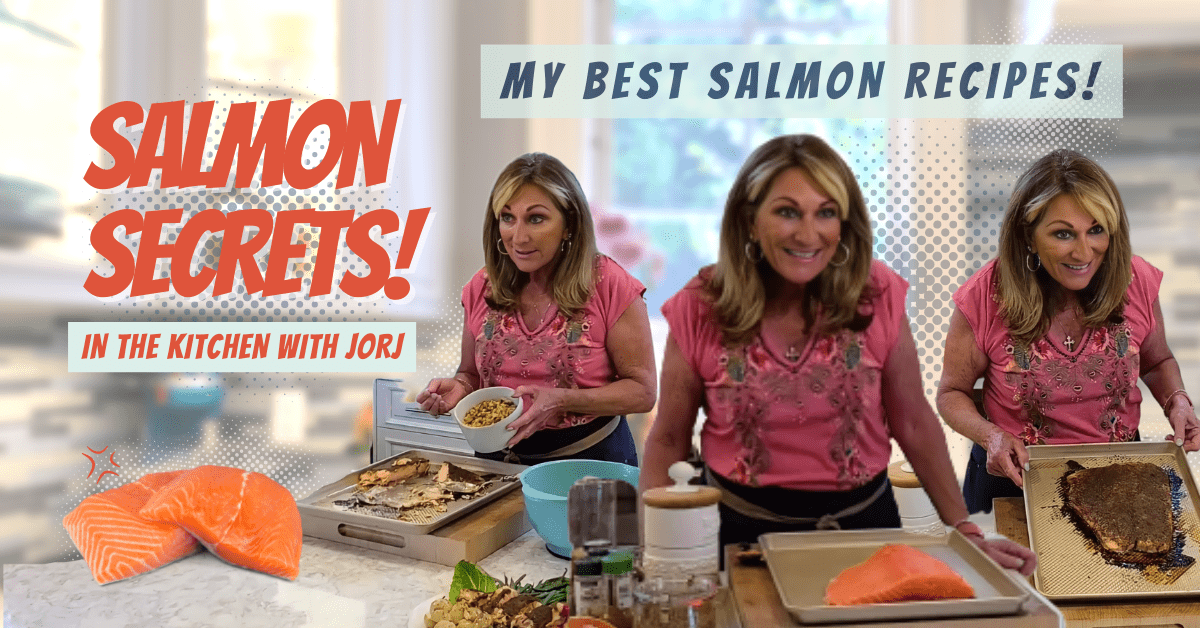
It was 20 years ago when I wrote my first cookbook, and these salmon recipes continue to endure! We're talking salmon secrets to...
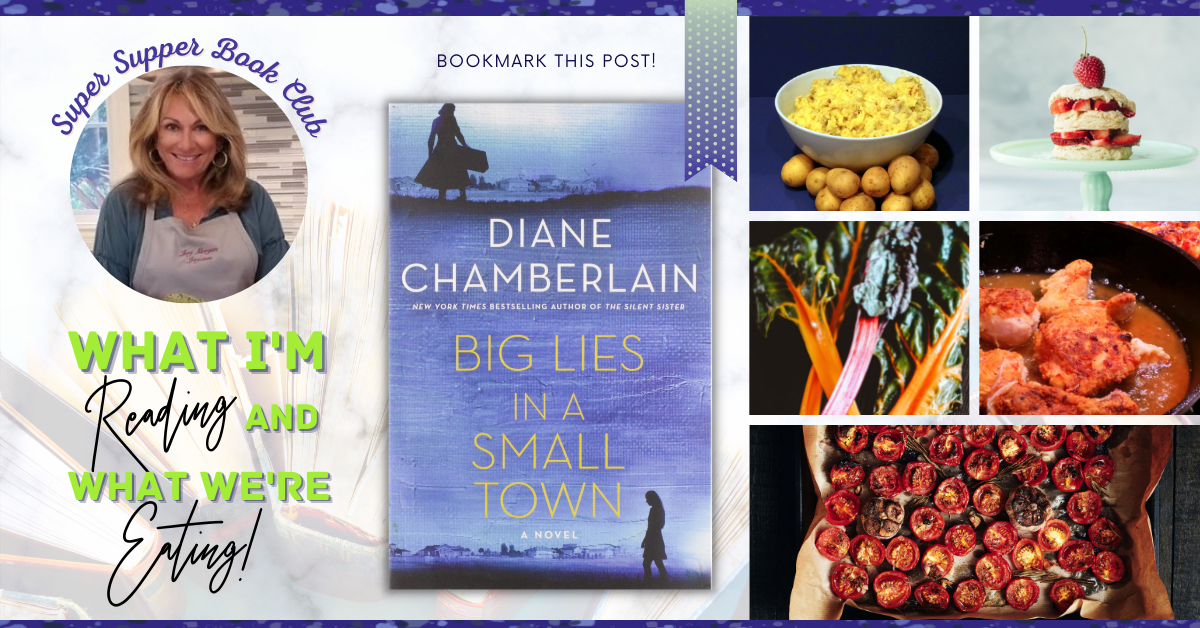
It's National Book Lover's Day and my book club party planner is here! Host a Southern-style book club supper with "Big Lies in...