April 29, 2019/
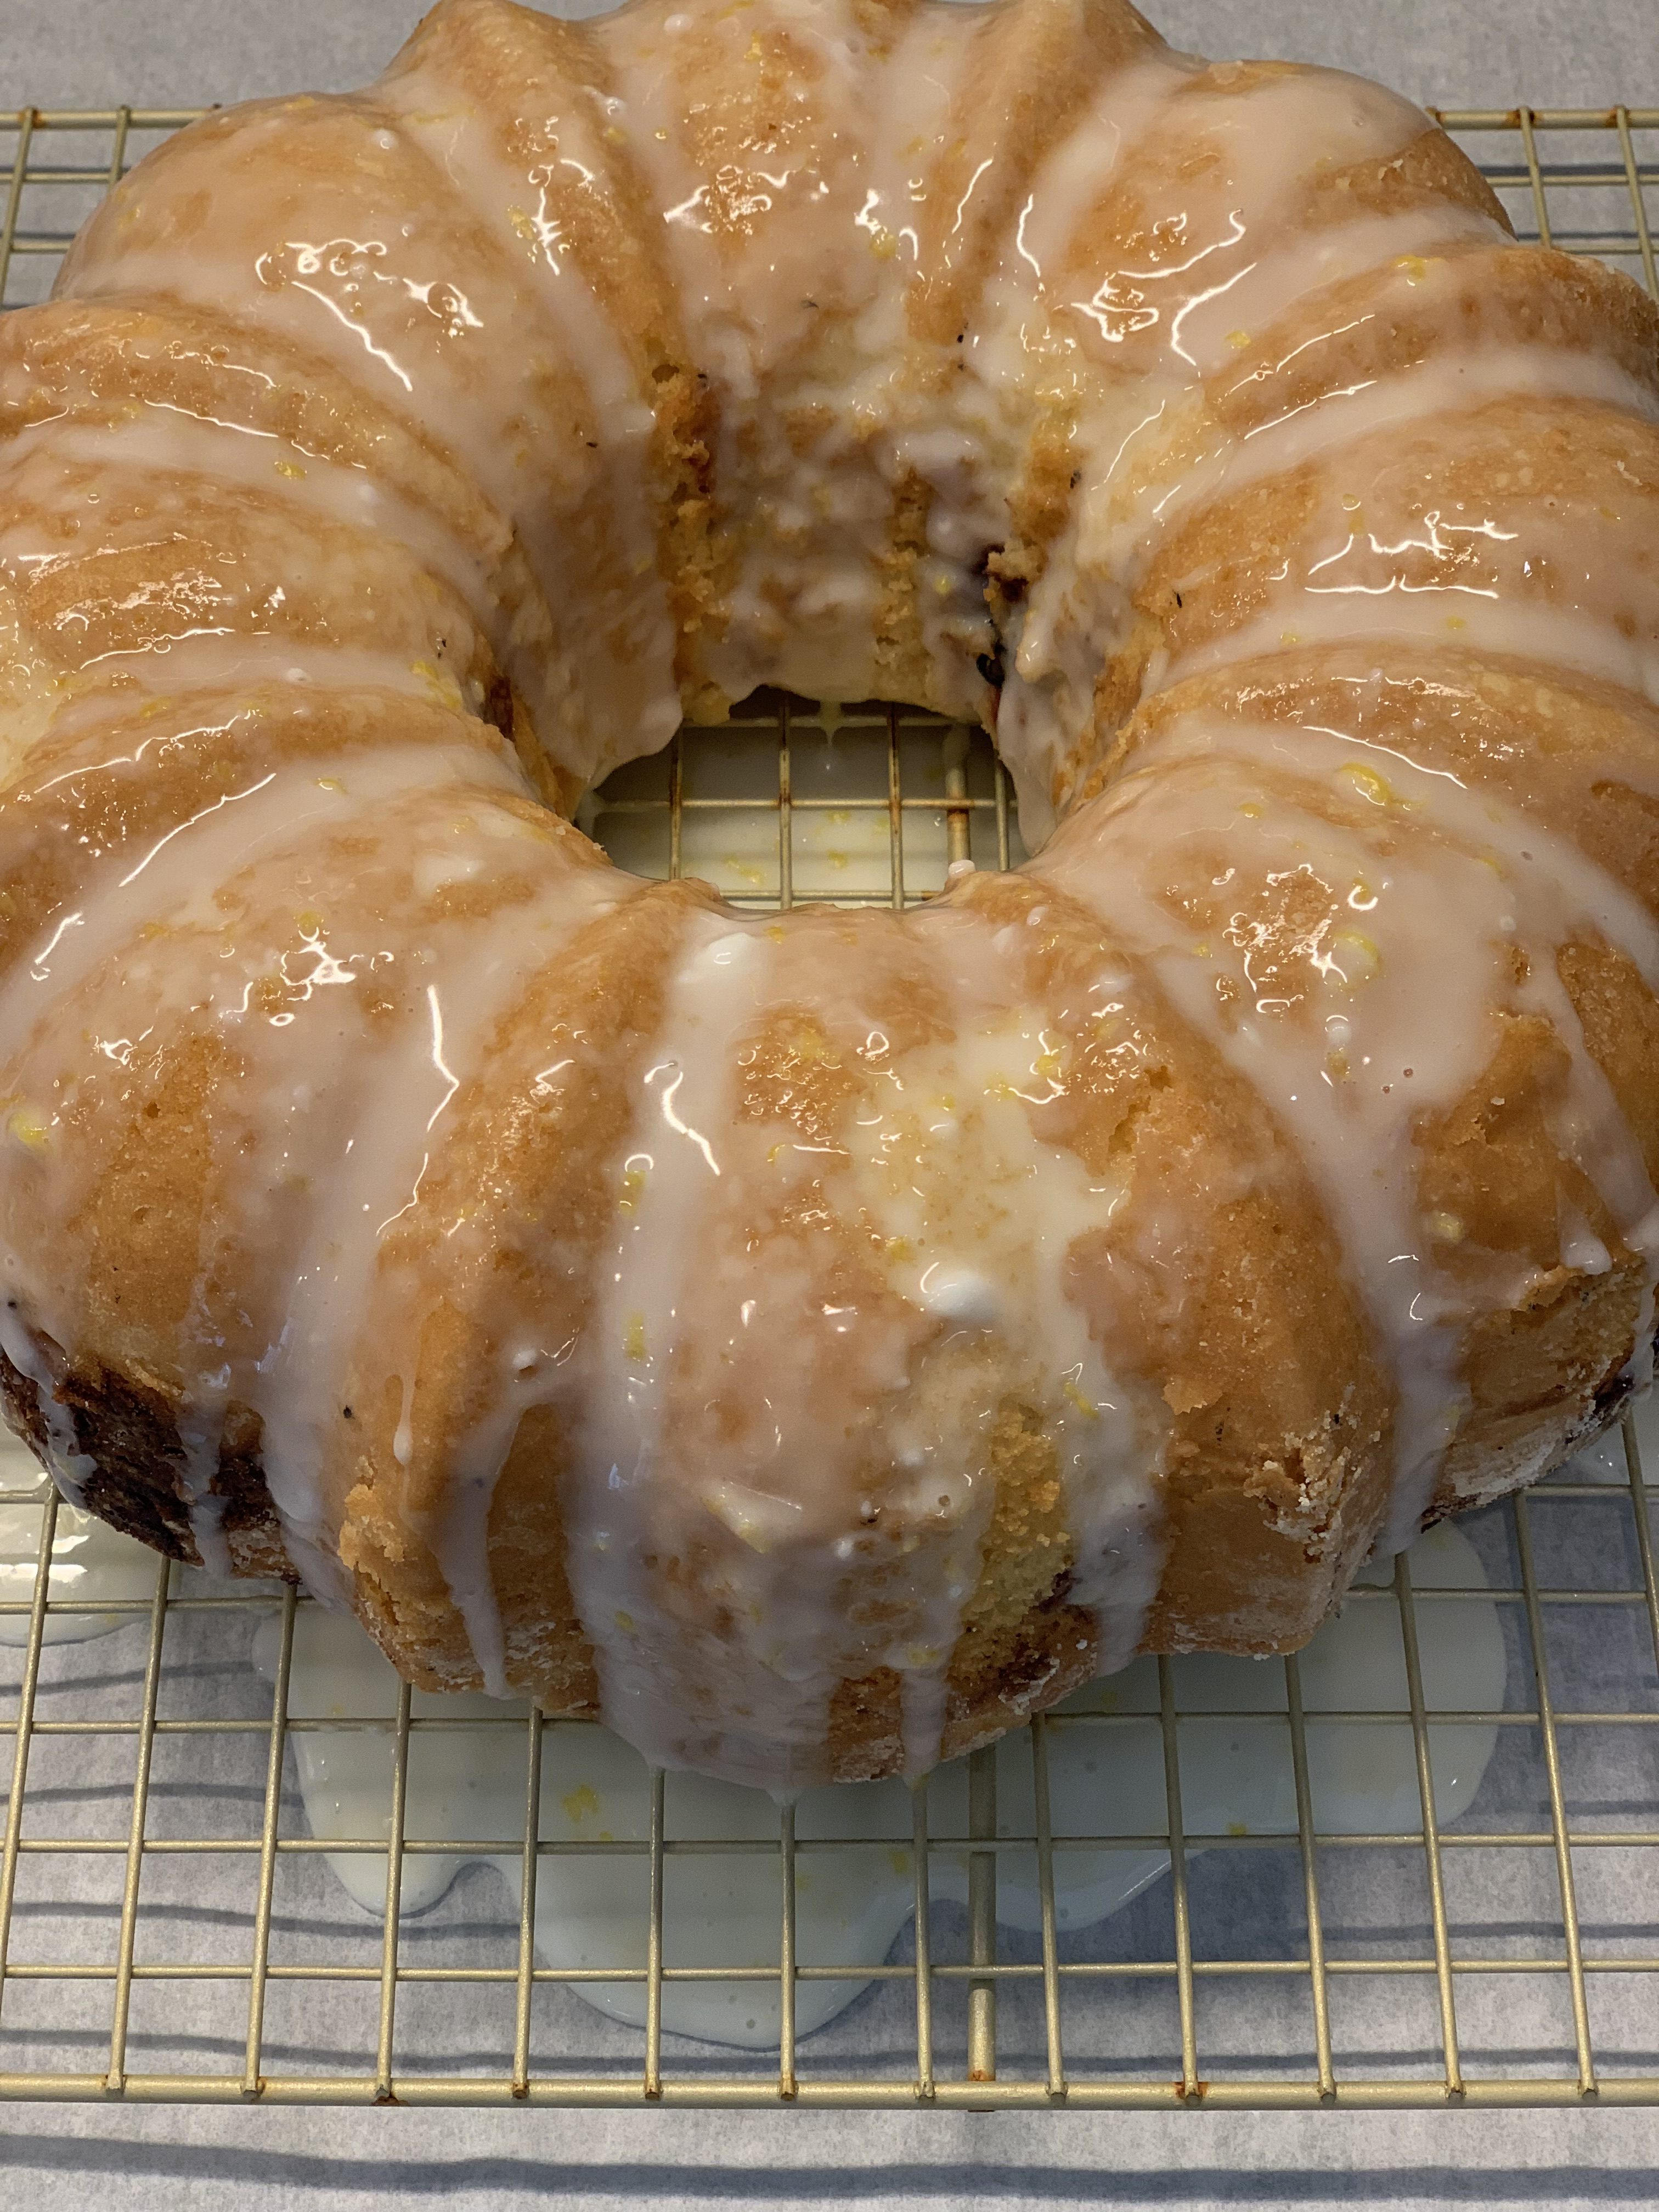
Leftovers yielded a luscious lemony cake, swirled with sugared berries and a bit of cream cheese (left over from the artichoke dip…..). Long...
Leftovers yielded a luscious lemony cake, swirled with sugared berries and a bit of cream cheese (left over from the artichoke dip…..). Long...
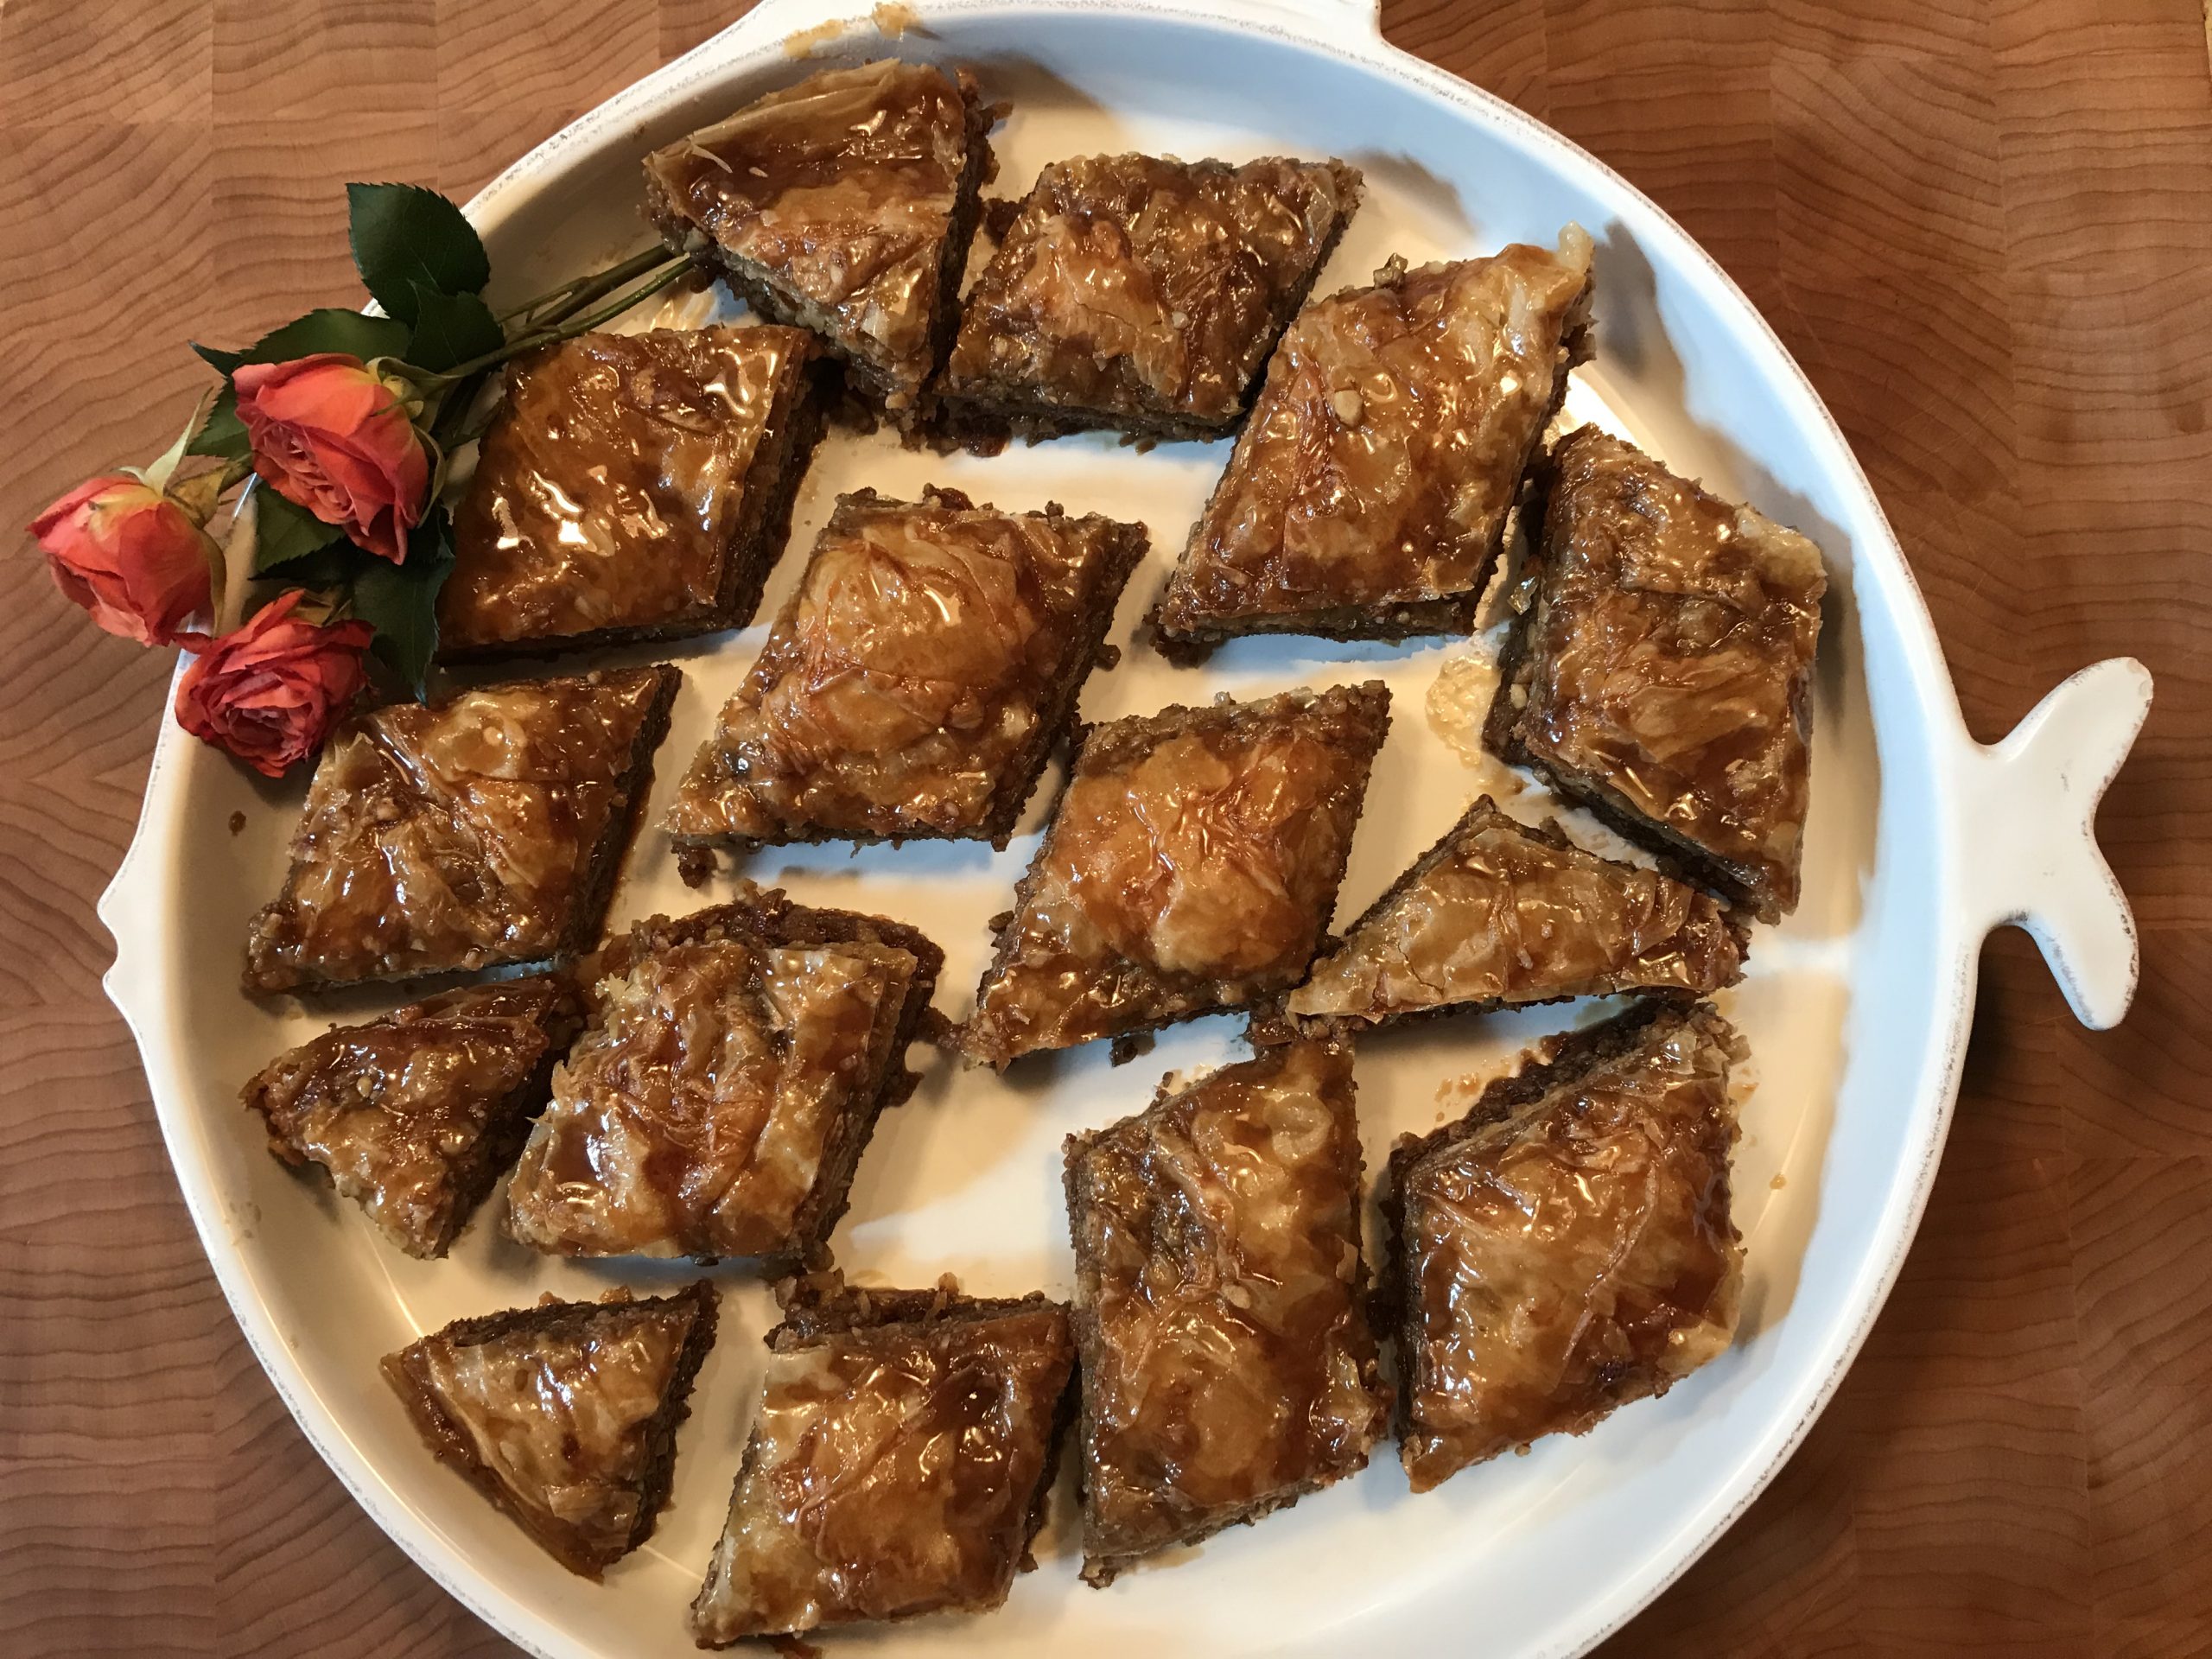
I modified the traditional recipe, and the result is a buttery, rich bite of flaky, nutty goodness: a cross between pie and candy!


Notifications