April 23, 2026/
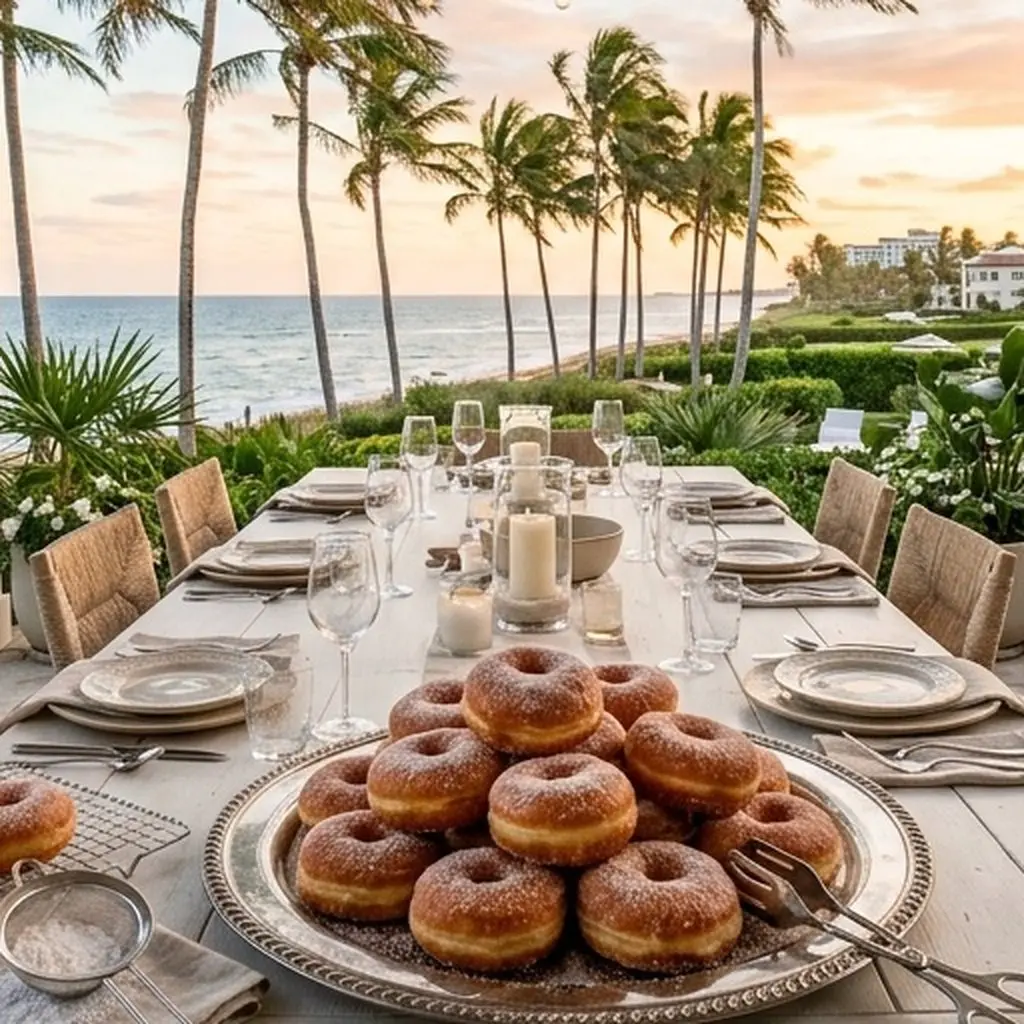
The weekend is here, and so is the temptation to stir up somethin' sweet n' donutty....

The weekend is here, and so is the temptation to stir up somethin' sweet n' donutty....
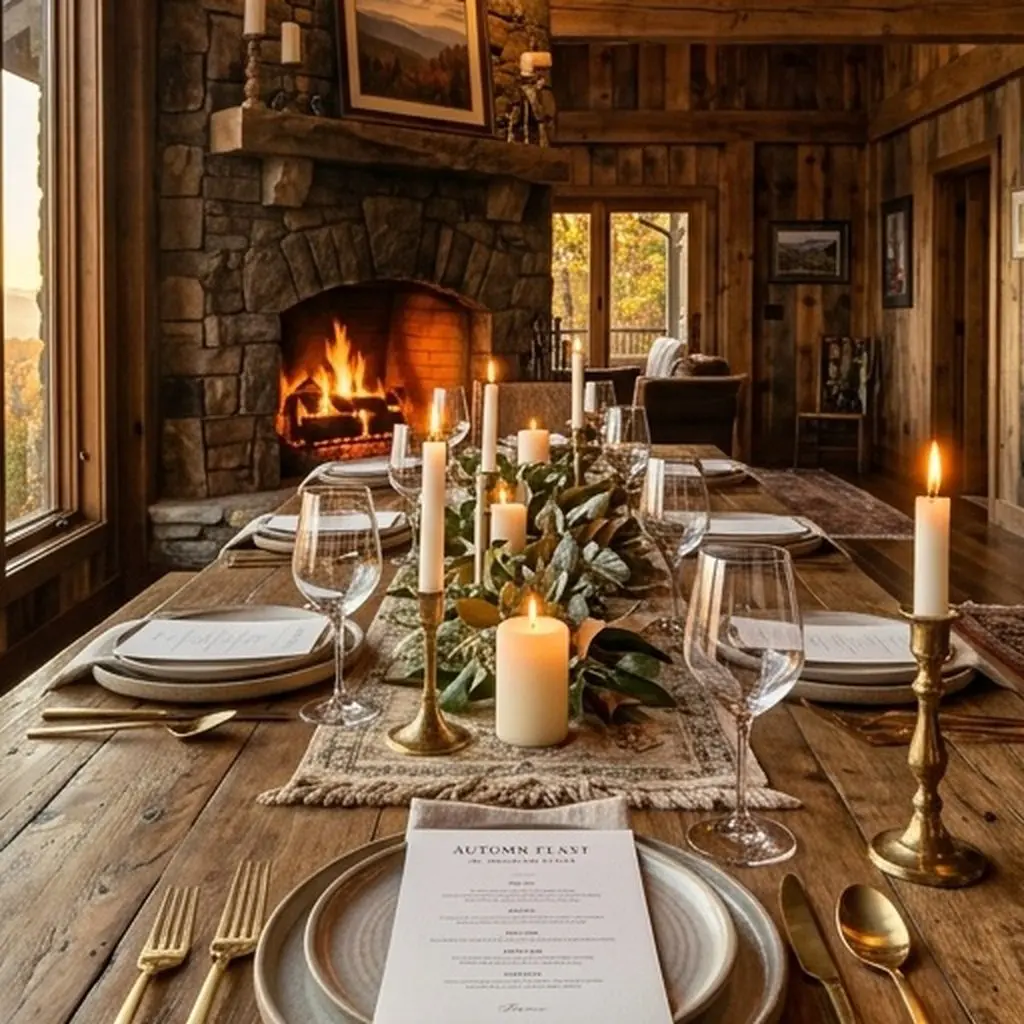
The Heart of the Table | A World of Inspiration Down Under Design: Pro Tips for the Perfect Table Brosa...
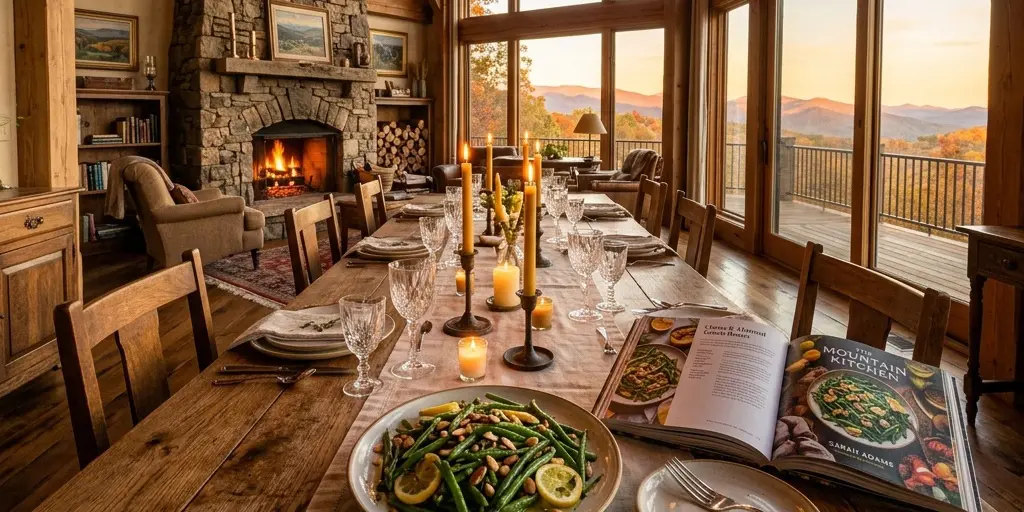
I'm like a kid in an all organic candy store, when I get my hands on a GOOP book. Just follow...
Just make sure you let Dad talk about anything he wants. Sit back and patiently listen to why this or...
As a cookbook author, it’s my business to understand good nutrition and garner opinions from lots of people, including wellness...
One of the best things about writing a book is finding experts in your subject matter, and really getting to...

Whenever I find something cool I like my readers to know—especially my recipe testers. Remember the Zumba cookbook we worked...
I just returned from my Asian adventure, where my favorite experience was the cooking class in Hoi An, Vietnam. Let...