October 6, 2021/
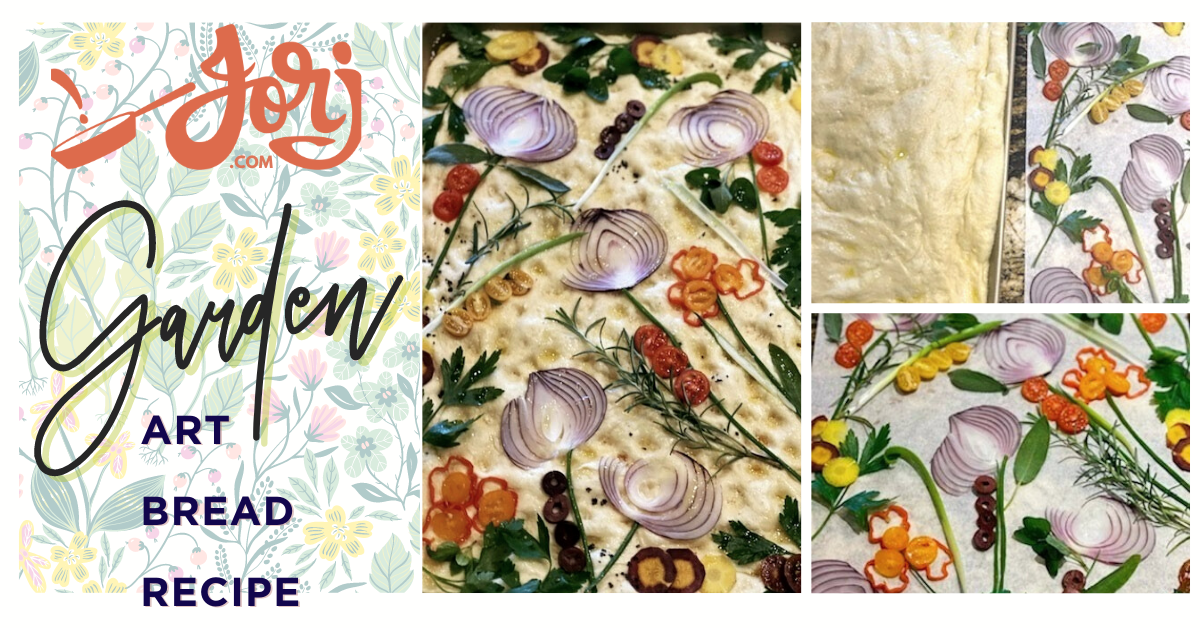
This garden bread art recipe was inspired by traditional Azerbaijani outdoor cooking and my love for all things fresh from the Farmer's Market!...
This garden bread art recipe was inspired by traditional Azerbaijani outdoor cooking and my love for all things fresh from the Farmer's Market!...
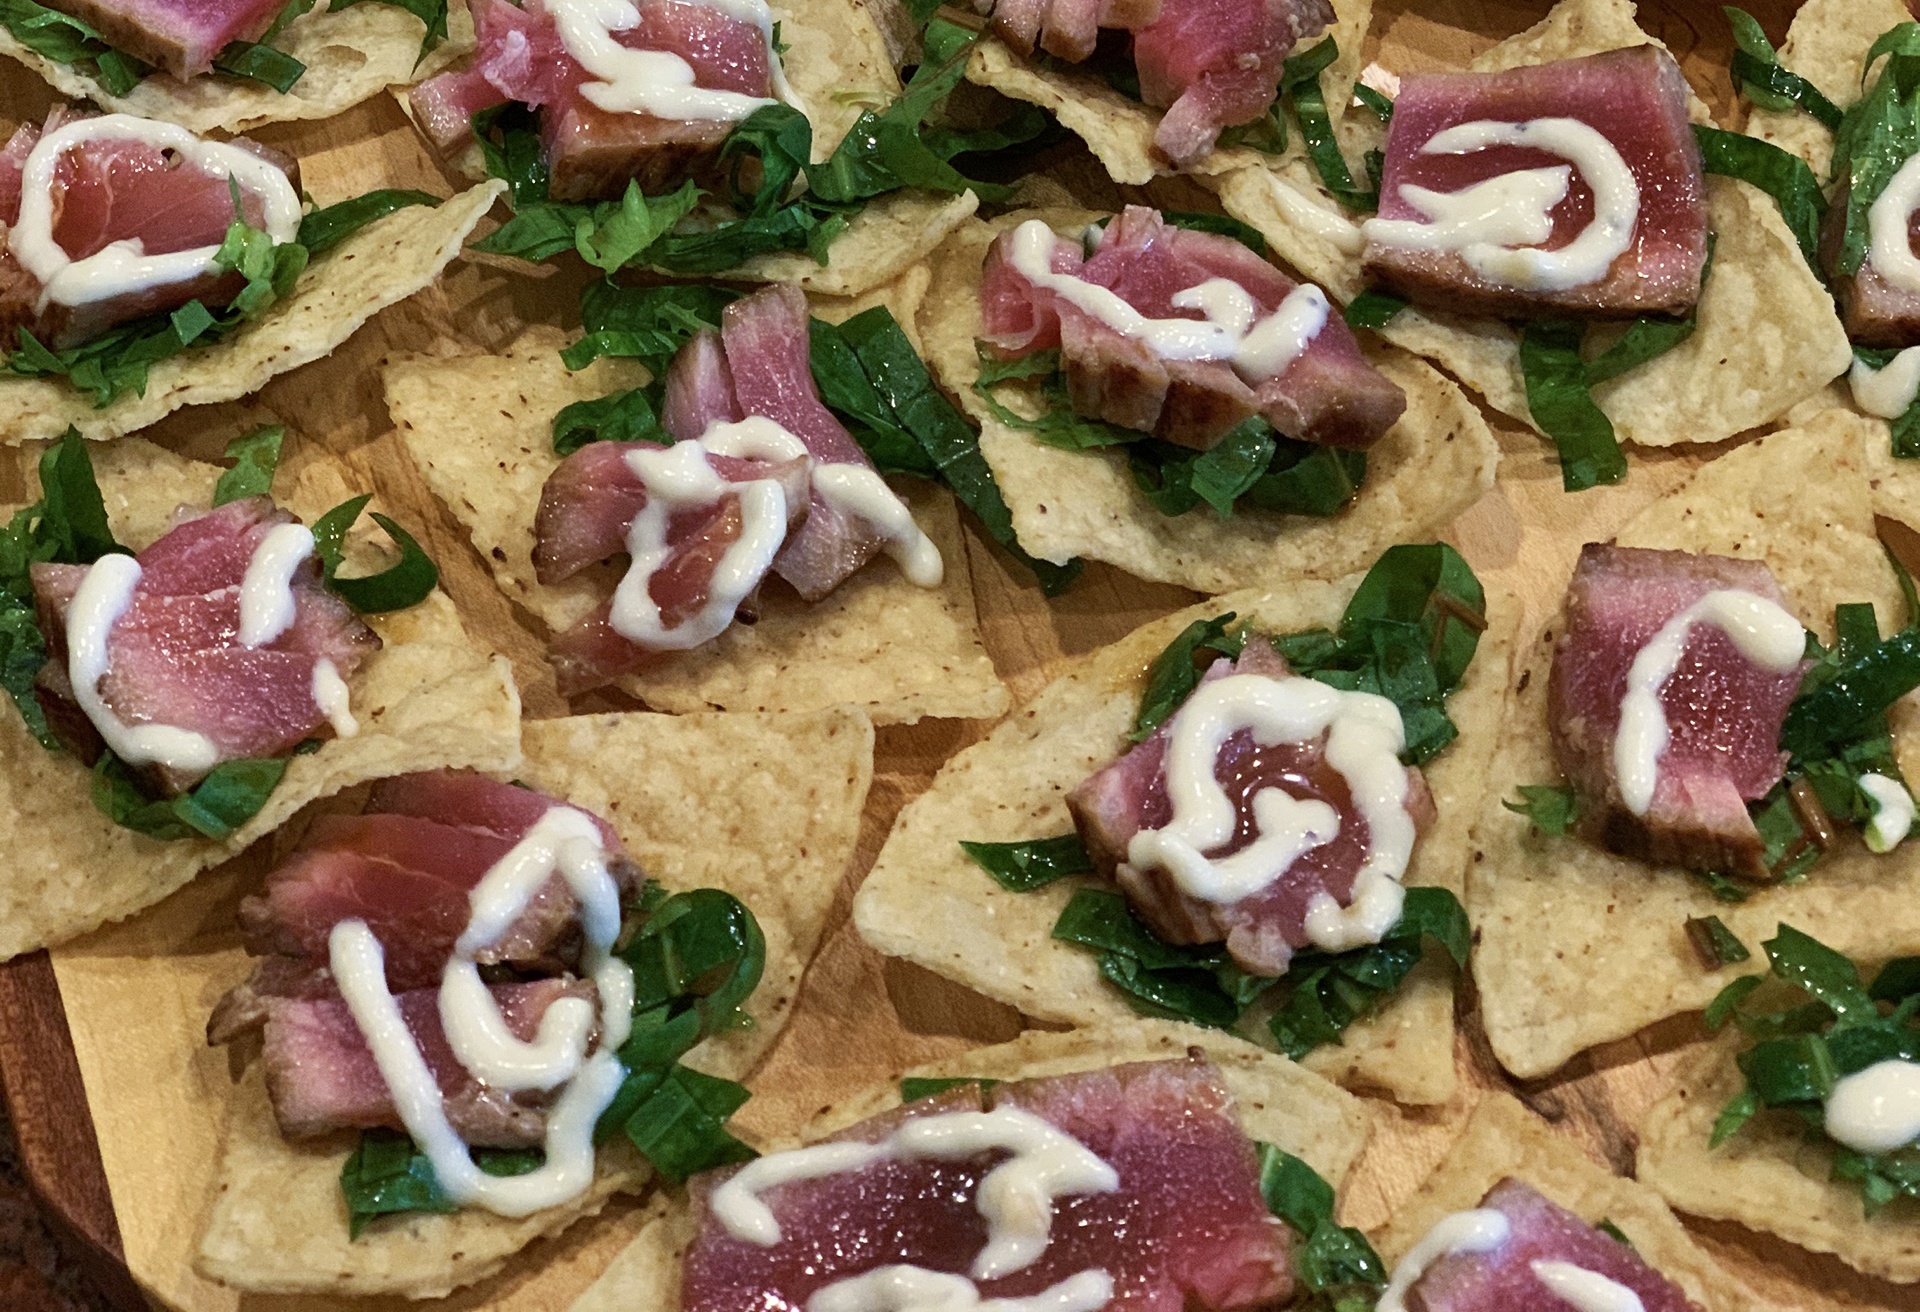
Mix and match your guests' favorite meats, treats, and cheeses and never be bored with your charcuterie board! Perfect for tailgating and more.
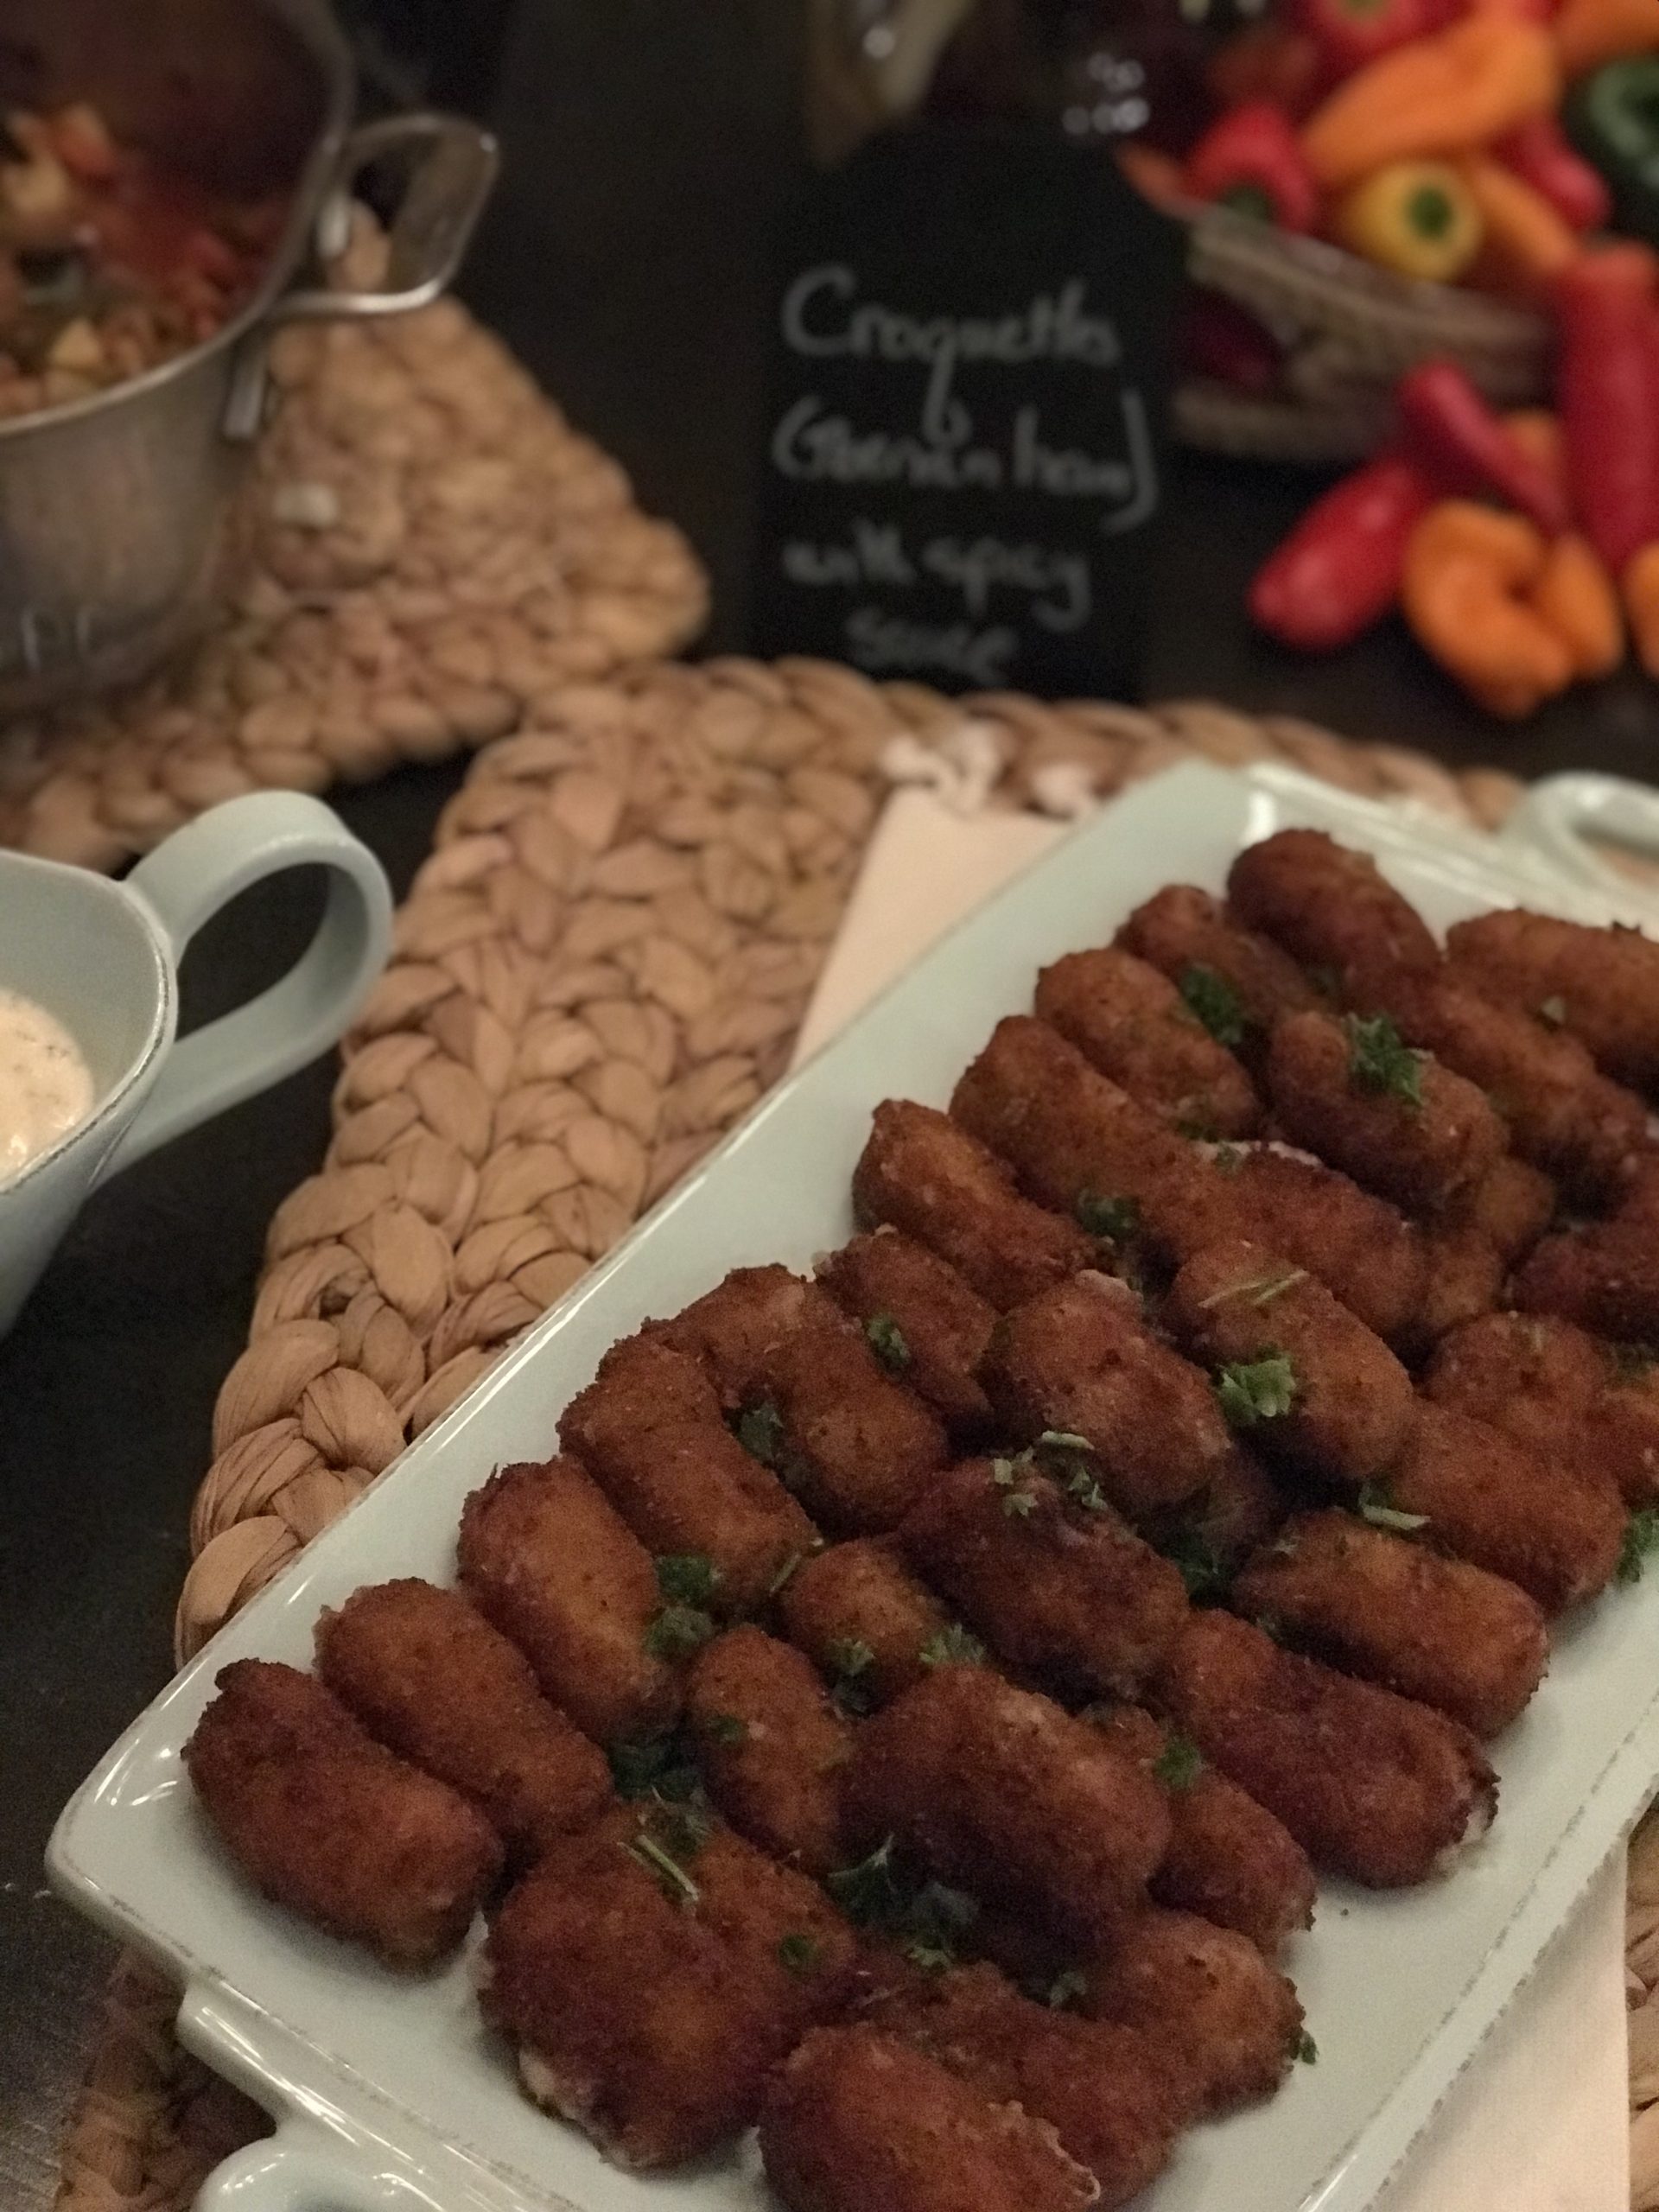
Are my party hosts and hostesses ready for Oscar Night on Sunday, March 4th? These easy and FUN Spanish tapas recipes will ensure...


Notifications