July 20, 2020/
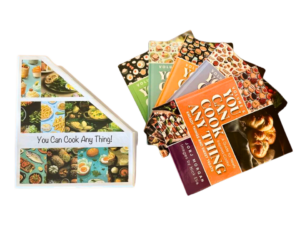
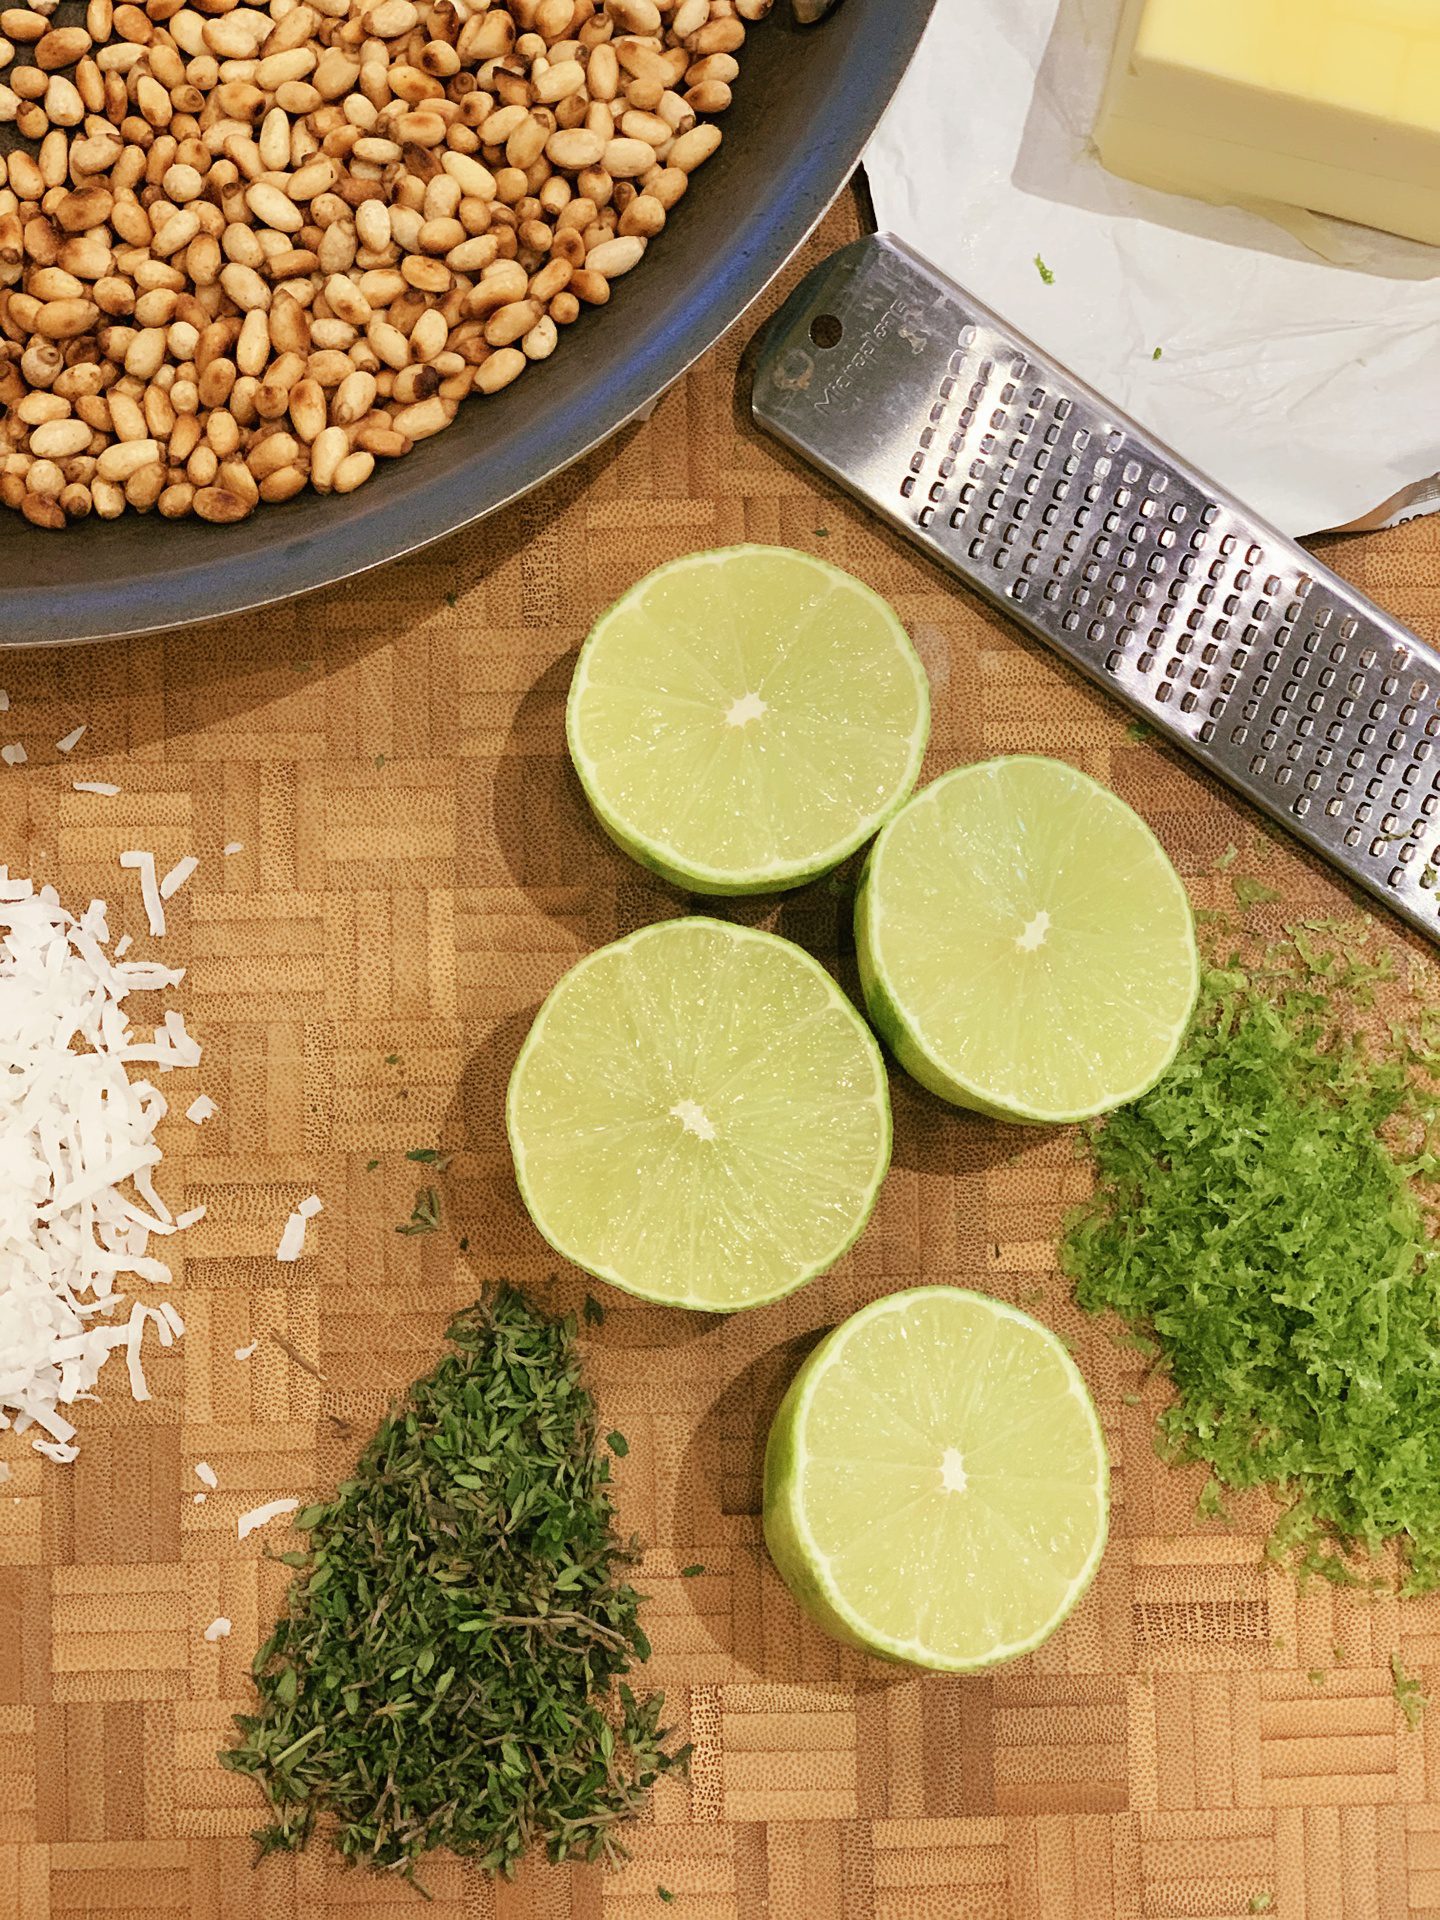
Take a tried and true biscotti recipe and switch things around to create a tantalizing summer treat, perfect for lazy Summer days that...

Take a tried and true biscotti recipe and switch things around to create a tantalizing summer treat, perfect for lazy Summer days that...
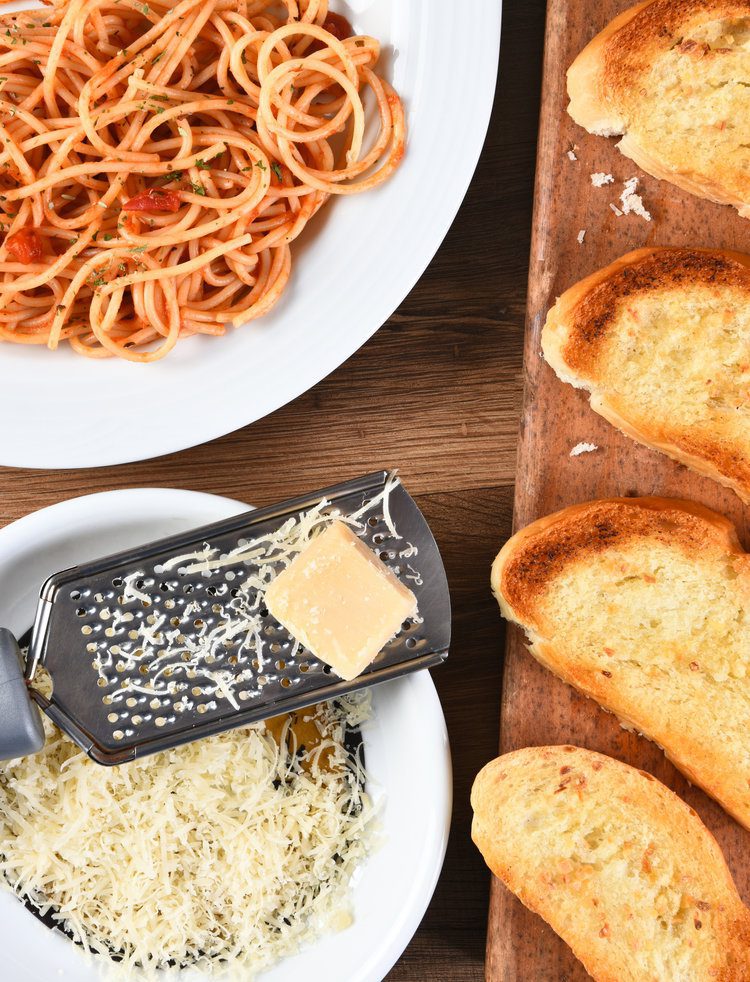
It's a spaghetti & meatballs kinda night, so let’s give ourselves permission to splurge! Elevate the loaf and bring bread out-of-the closet! It...
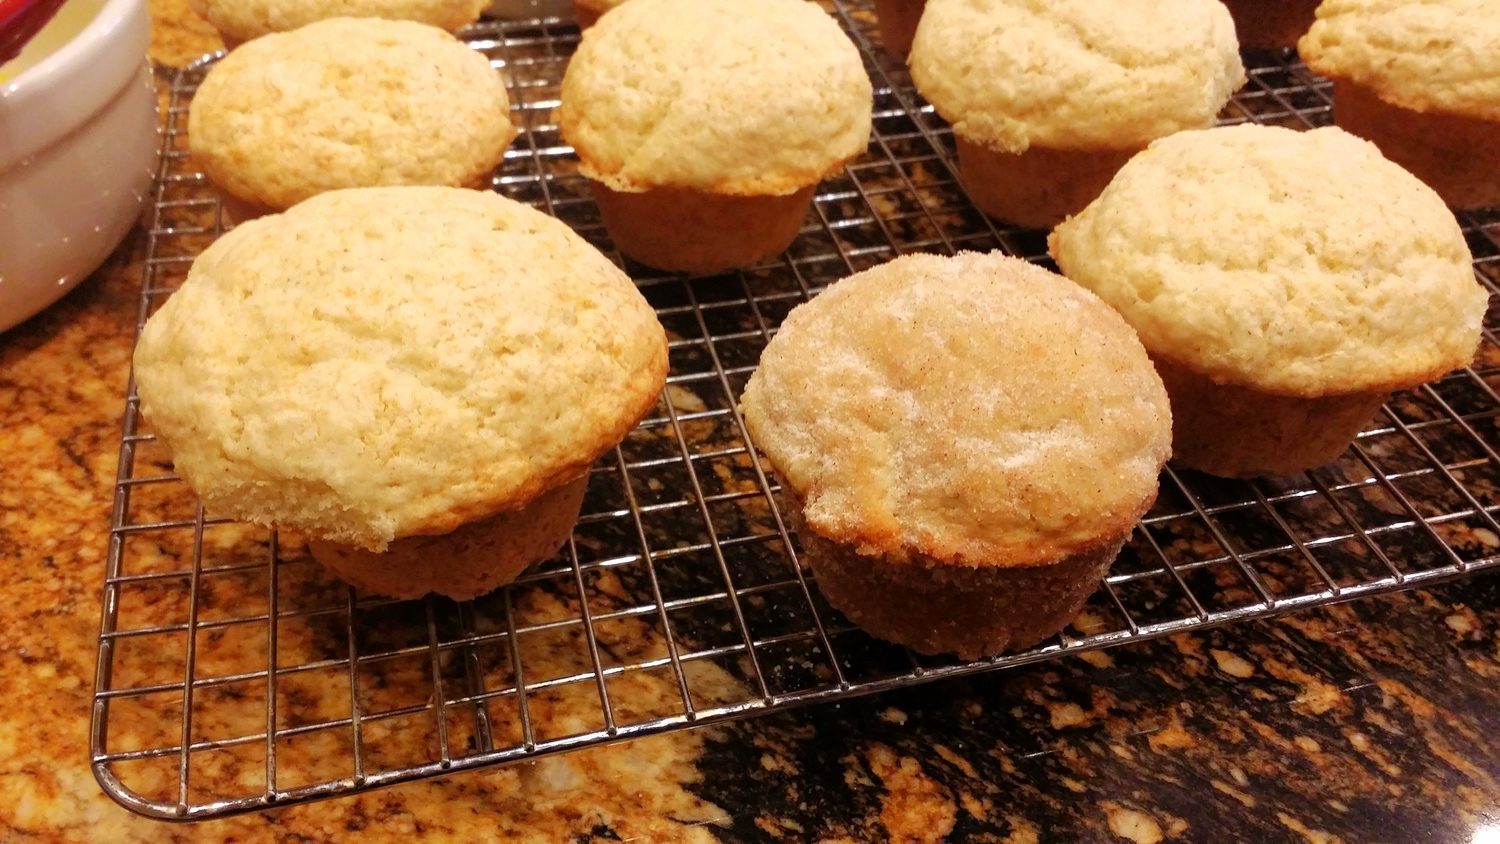
Close your eyes and take a bite of this sugary, warm, light-as air treat and convince me you are not eating a doughnut!...